EMBR

Look development, built on film physics.

EMBR/ Out now
Get EMBR

The foundation

Anchored to the medium.

The same frame at 8, 16, and 35mm. Grain and optical texture scale with the gauge, not just bigger grain.

The negative

Build the negative.

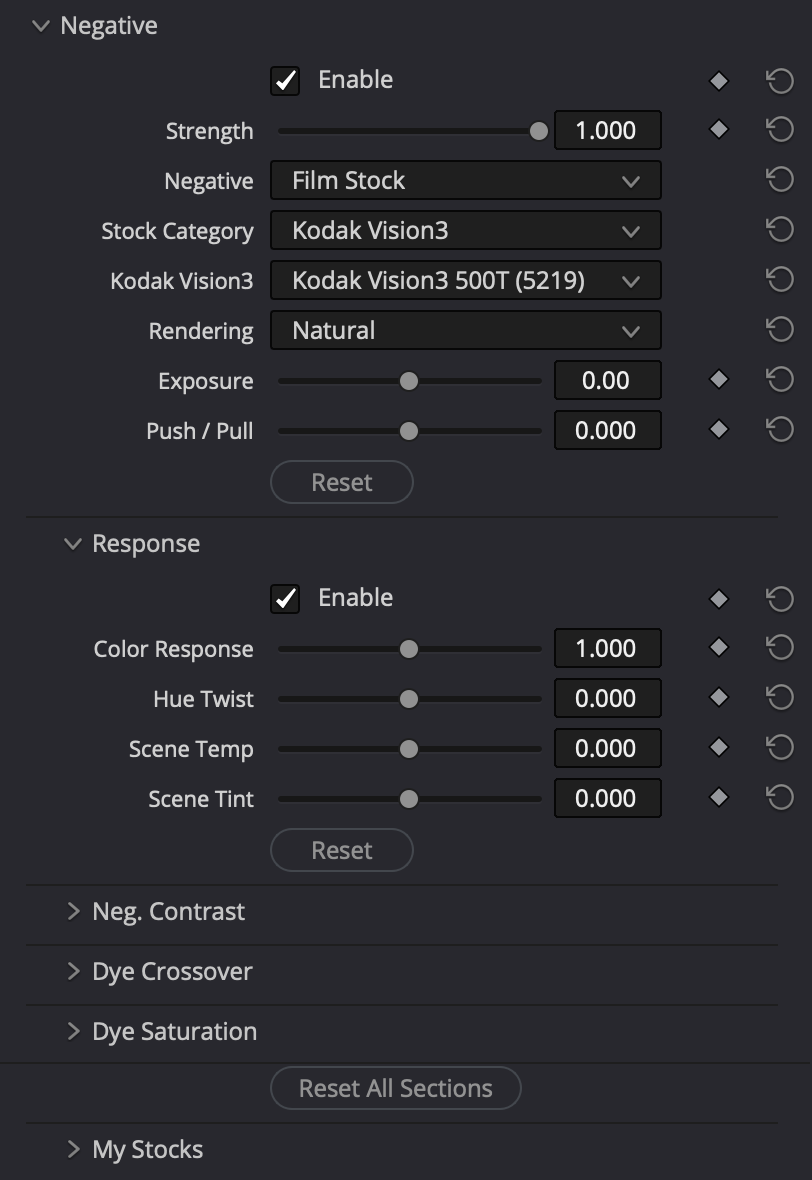
Start from an authored stock, then open the negative behind it and shape it as far as the image needs.

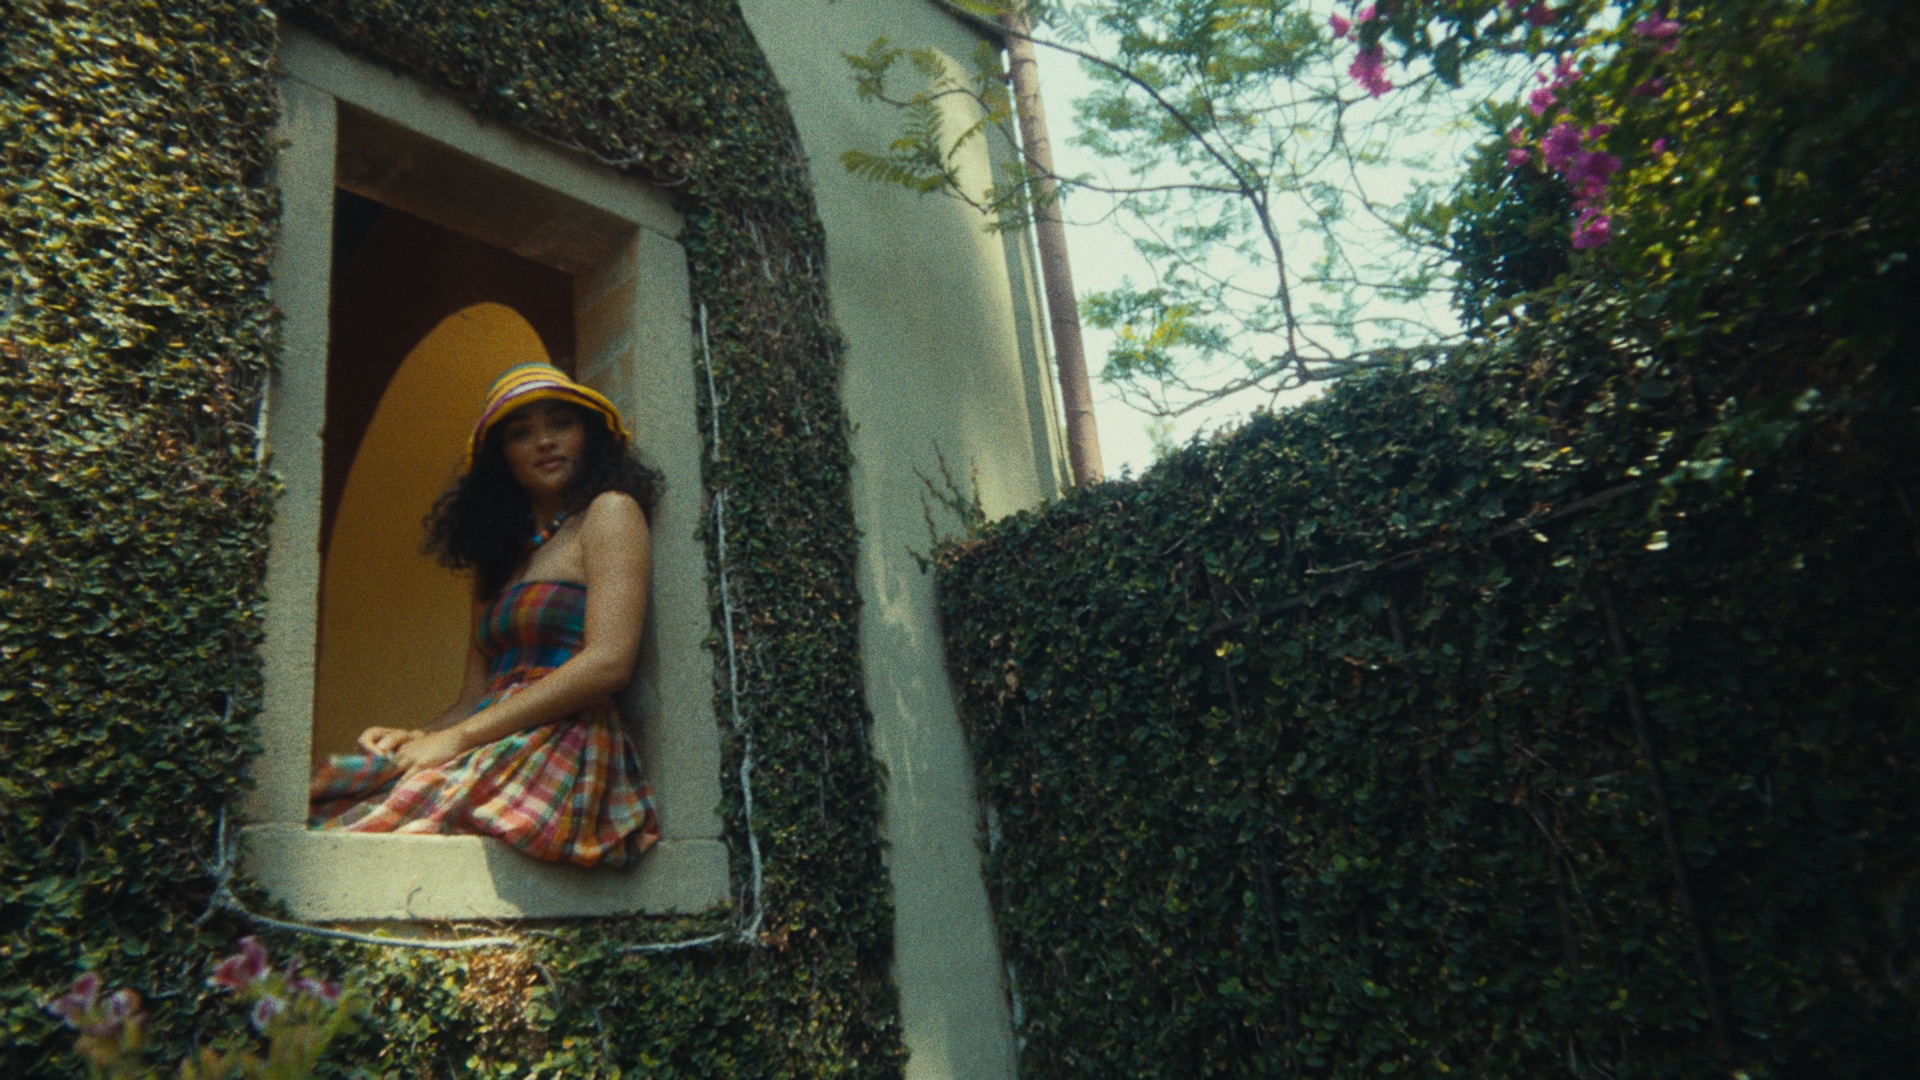
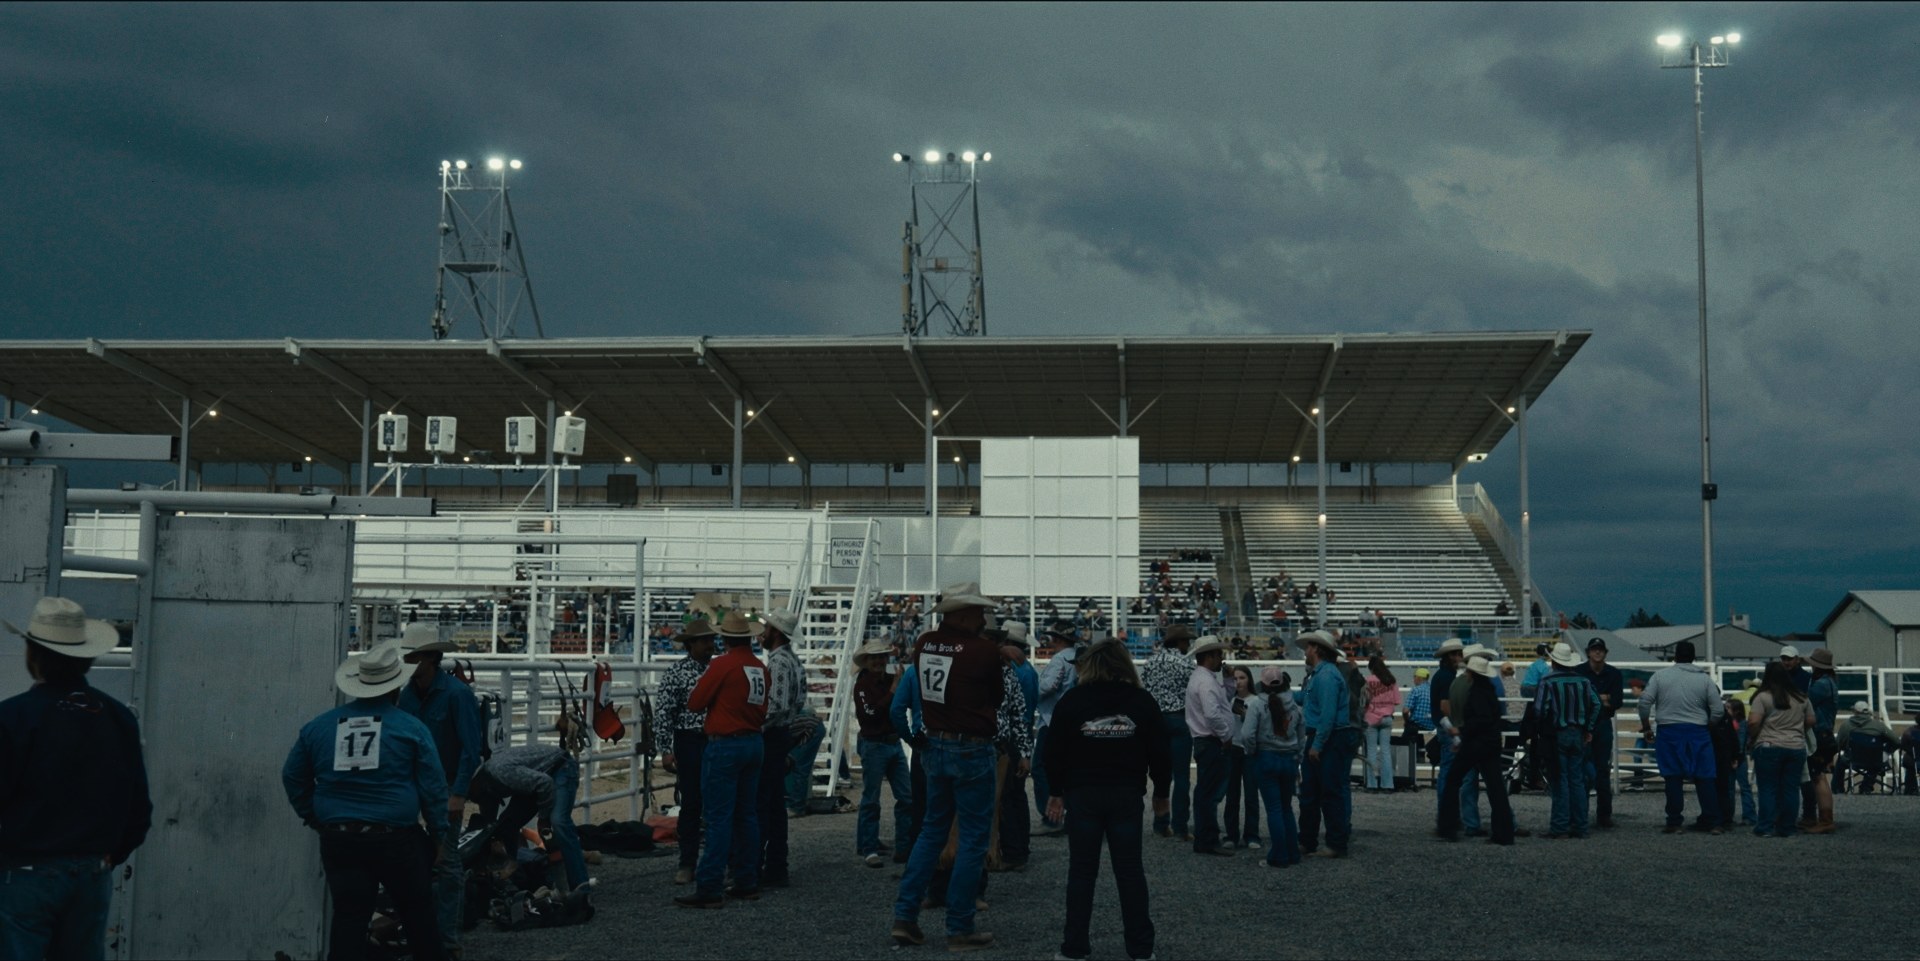
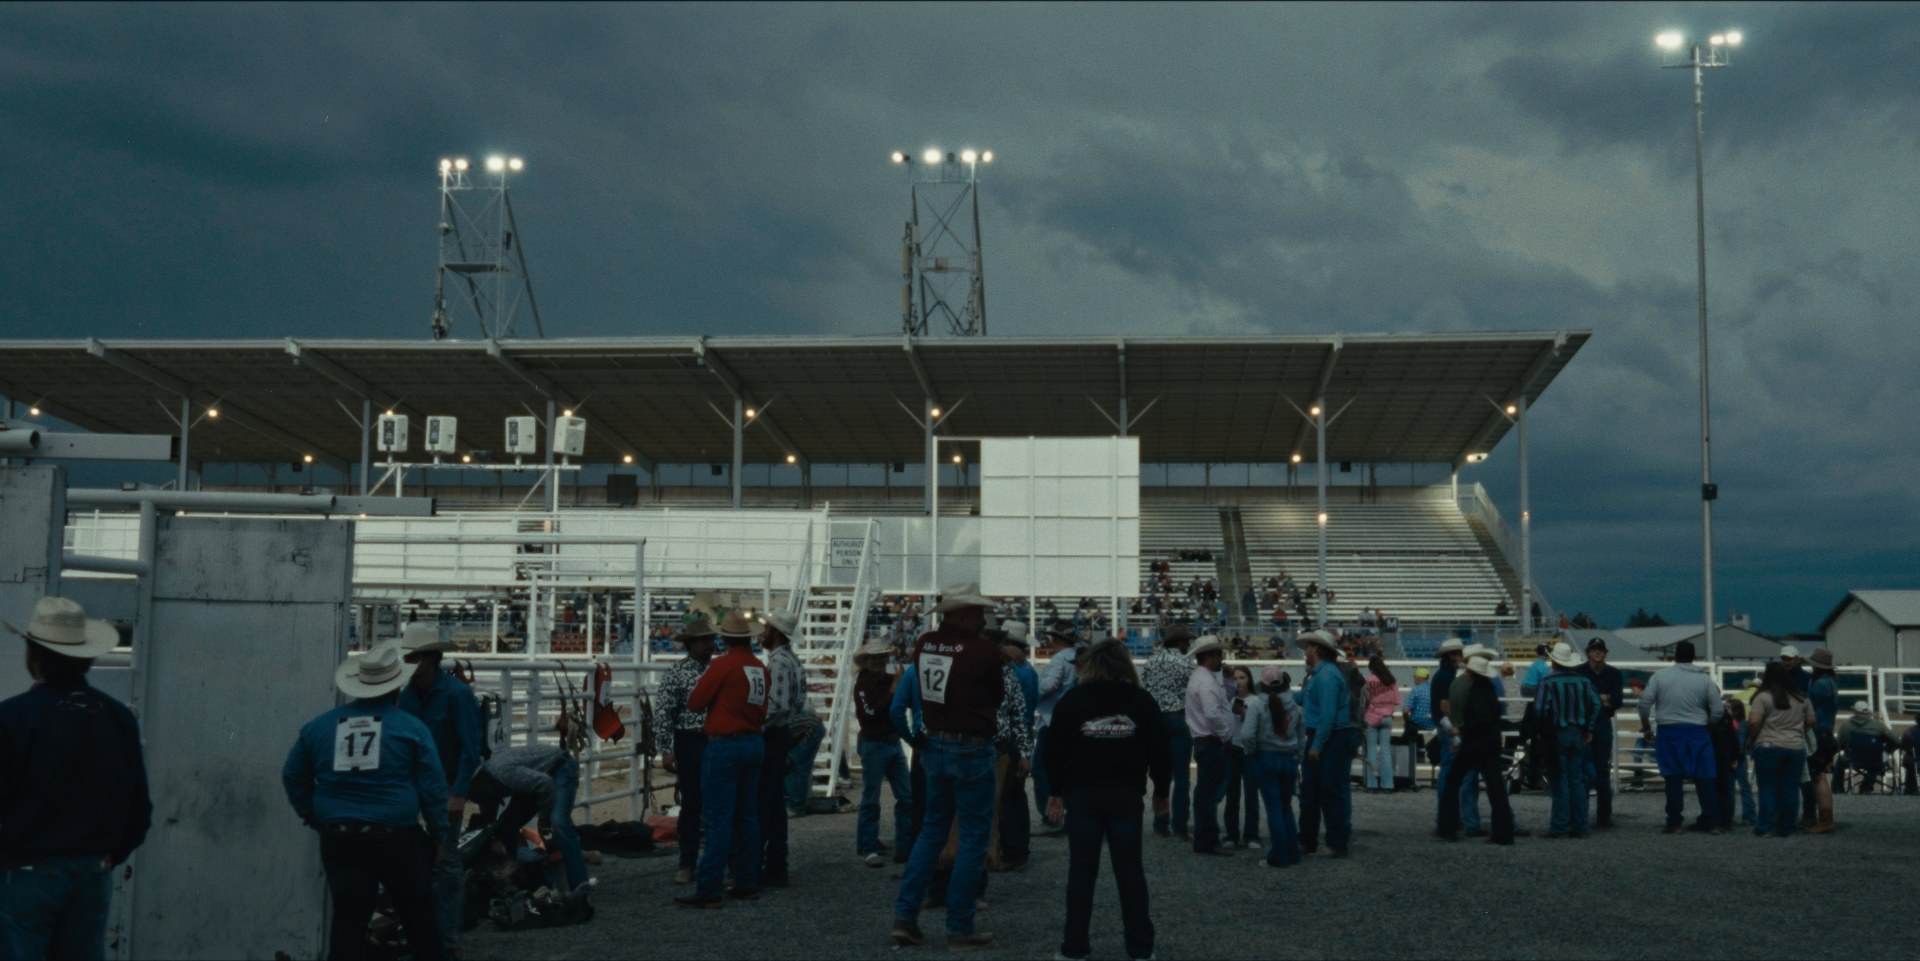
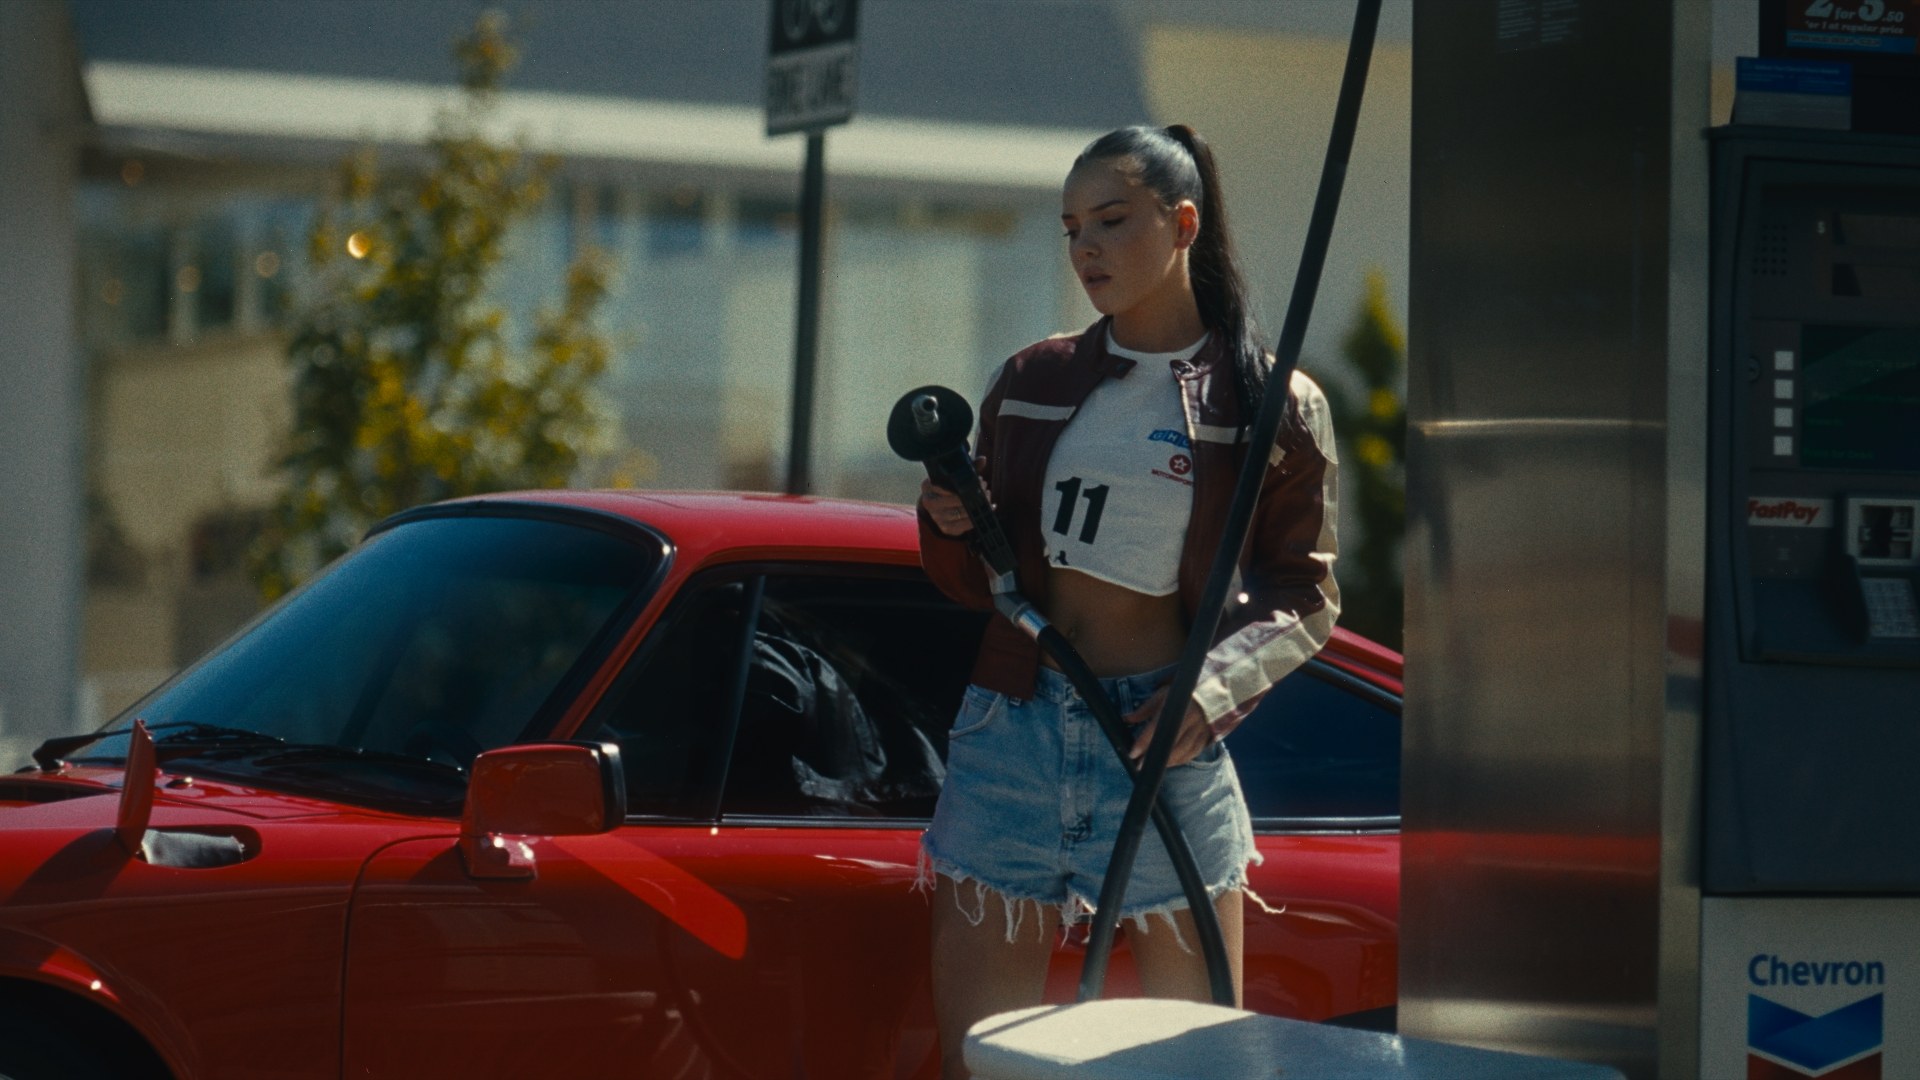
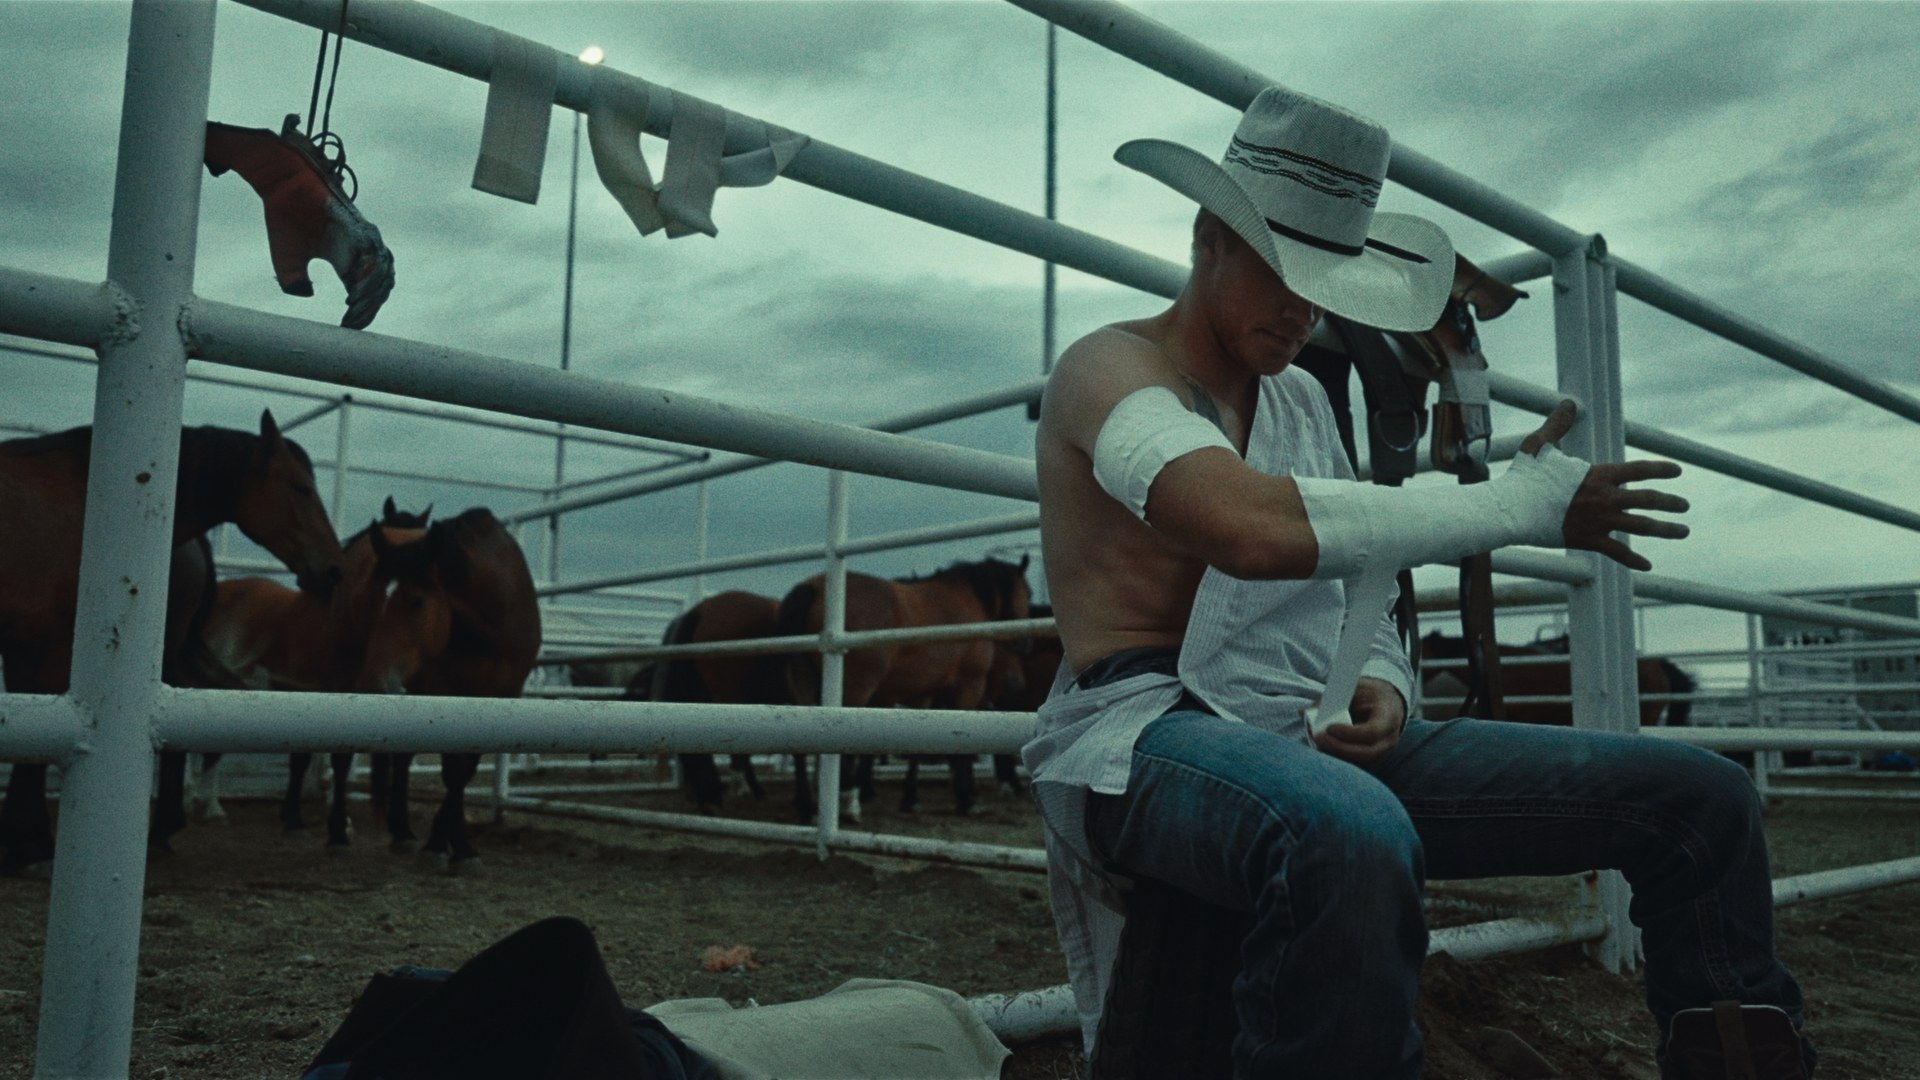
A frame from Ring of Fire rendered through an EMBR-built negative.The frame
The EMBR Negative panel in DaVinci Resolve: Build mode, per-layer gammas, push pull, dye chemistry, and Save Stock.The negative behind it

The negative you build is a real artifact. Keep it, or hand it to another colorist who runs EMBR and they load it like any of mine.

Fair warning: it rewires how you think. The controls are real development decisions in the real order, and once it clicks you stop blindly moving sliders. Every change asks what a lab would ask. You start shooting and exposing with the negative in mind.

Module by module

01

Balance

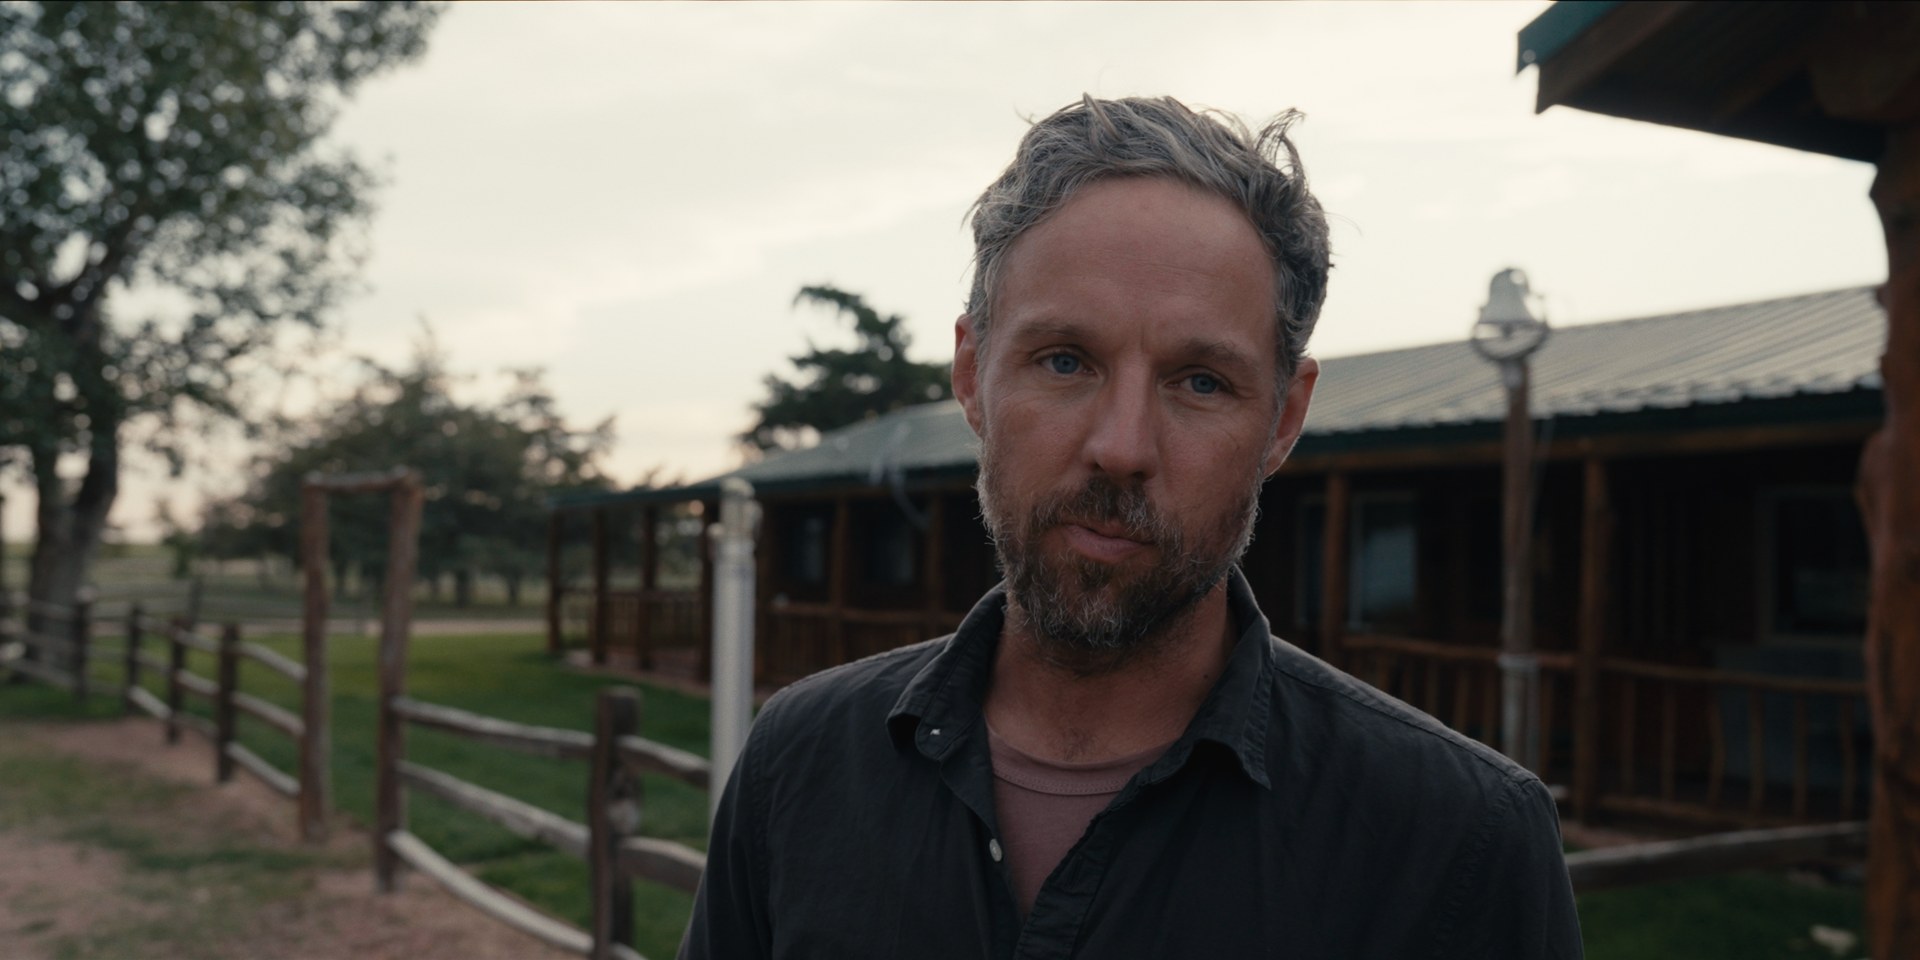
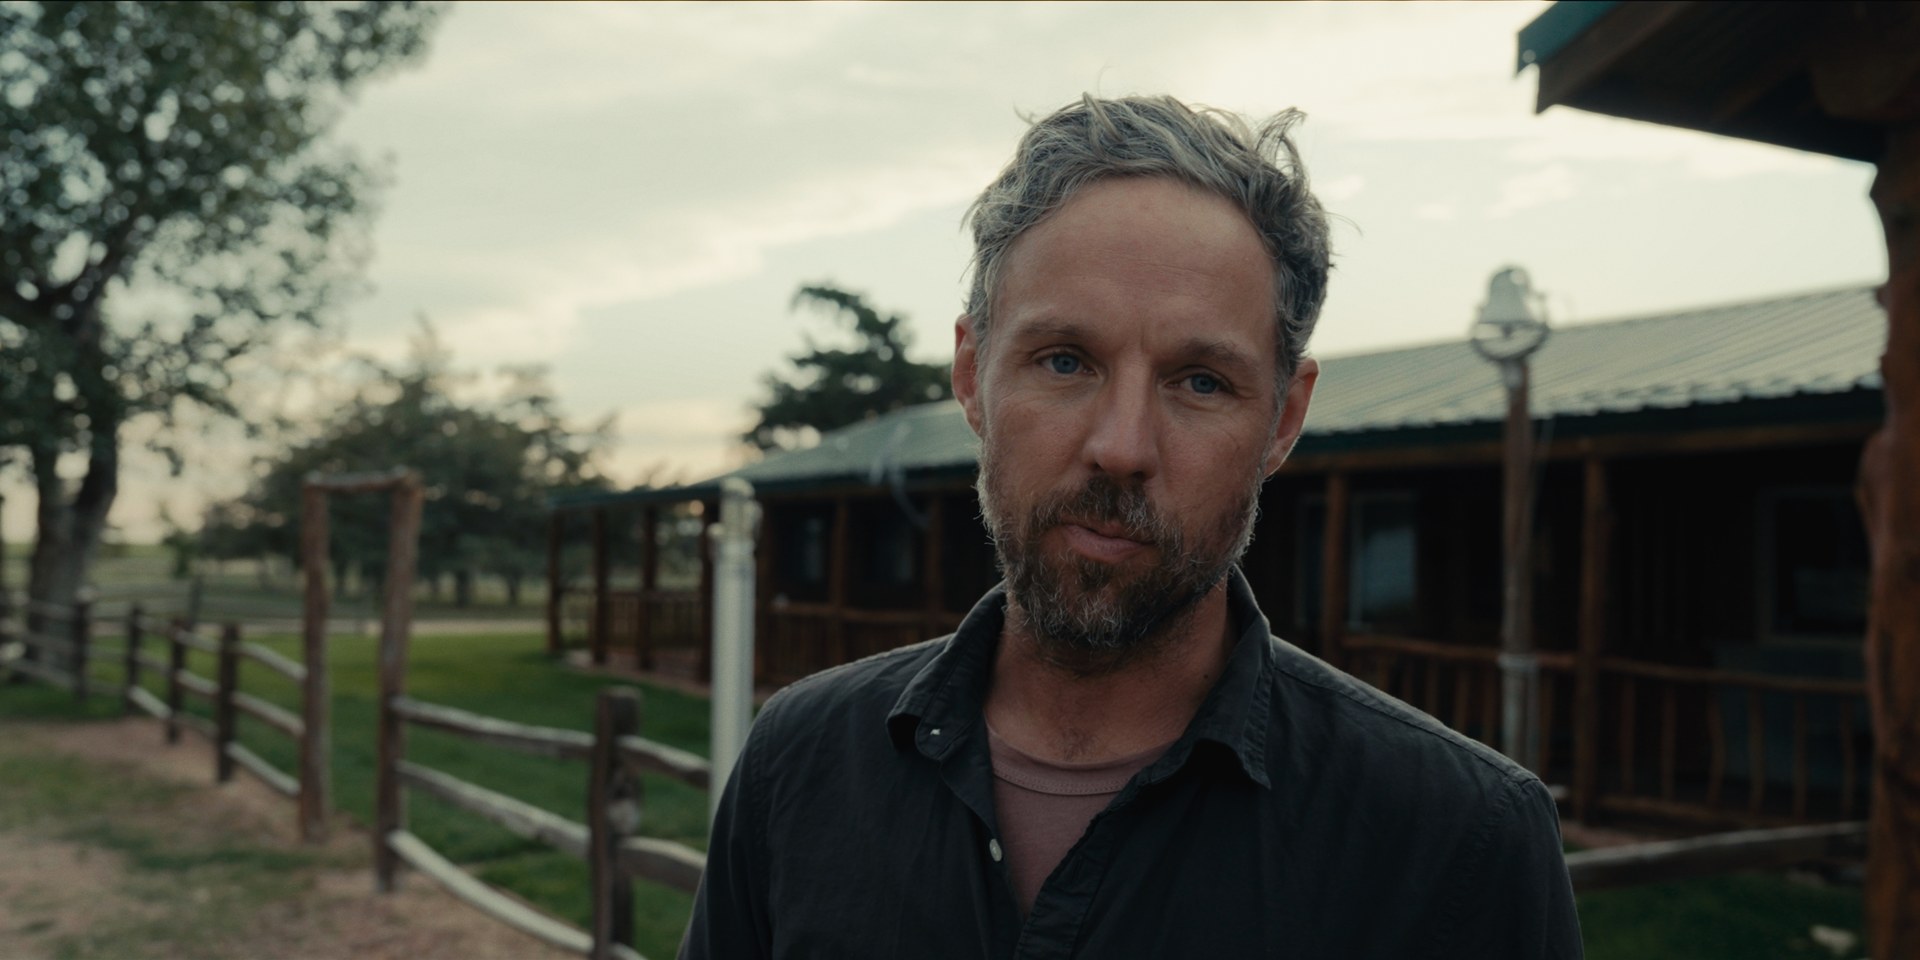
Per-clip balance before the film starts. It reads skin to find true white, then seats exposure and contrast. And every view you need to nail it.

The EMBR view: The balanced output
BalancedSource
The EMBR view: Exposure in film stopsThe EMBR view: The tint, read from skin toneThe EMBR view: Anchor your pivot. Then set contrast

The clip after Balance. Skin found the white point; exposure and contrast seated. Pull the handle for the source.

02

Halation

Where it belongs, modeled the way it burns into film.

Halation off versus on
OnOff
03

Grain

One frame, shot on 16mm 200T pushed two stops: real film grain as captured, degrained clean with a grain-removal pass, then EMBR's grain laid on that clean base at defaults. Same image, one variable.

Real film grain versus EMBR grain on the identical plate
OnOff
Film grainEMBR grain

DP Lukas Bryant

04

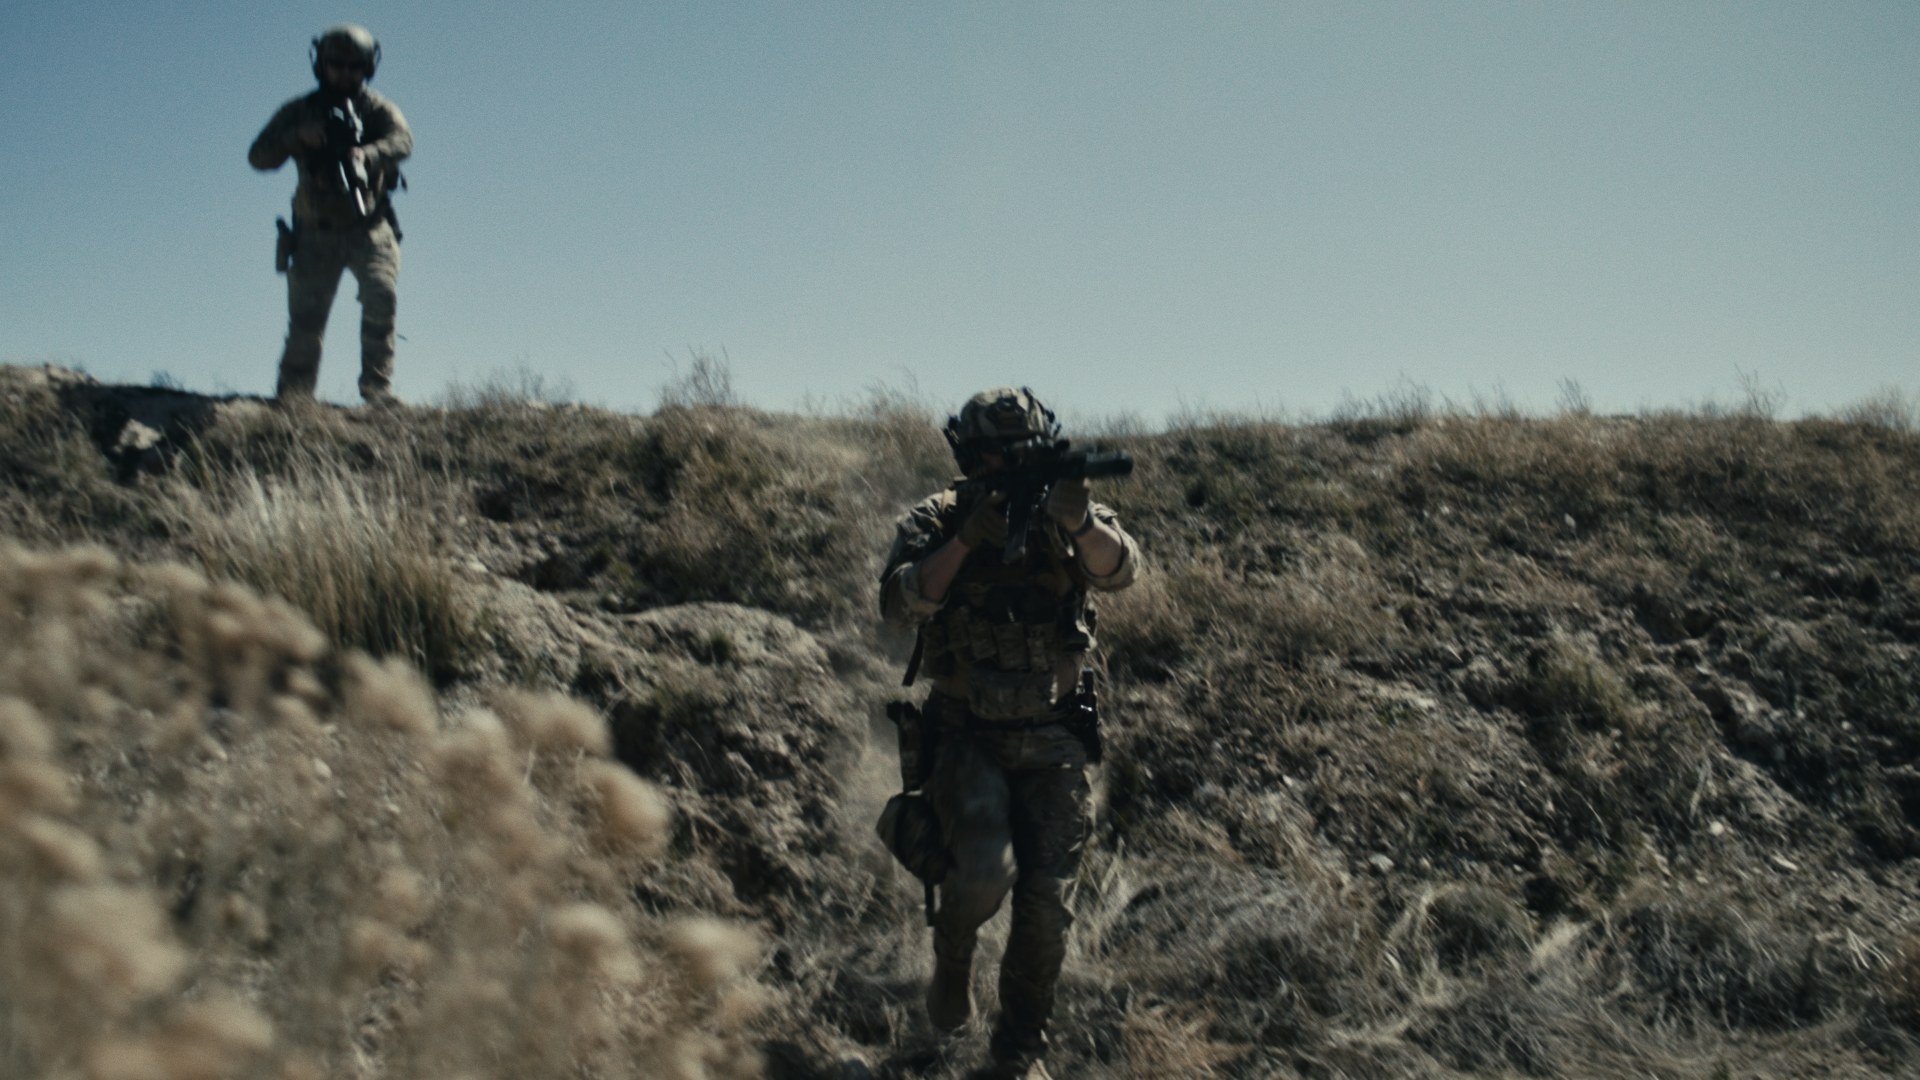
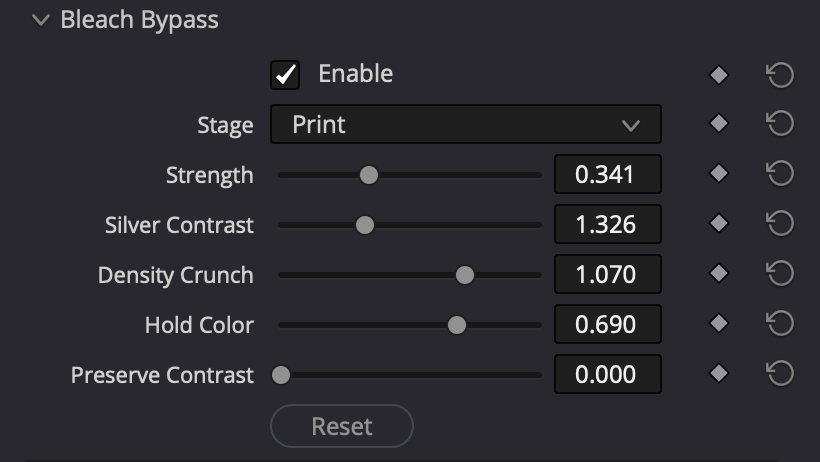
Bleach bypass

Silver retention as a look-building tool, authentic or creative. Crushed blacks and muted color the way the lab did it, or aggressive contrast that holds its color, crunching density instead of bending a curve, at the negative or the print stage.

Bleach bypass (authentic) off versus on
OnOff

DP Hudson Mendoza

05

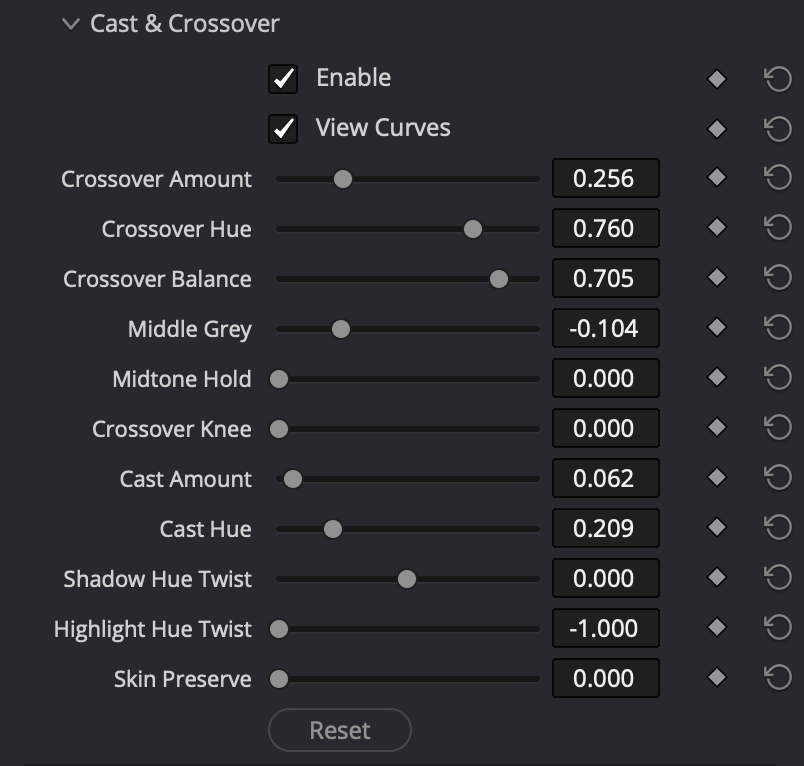
Cast & Crossover

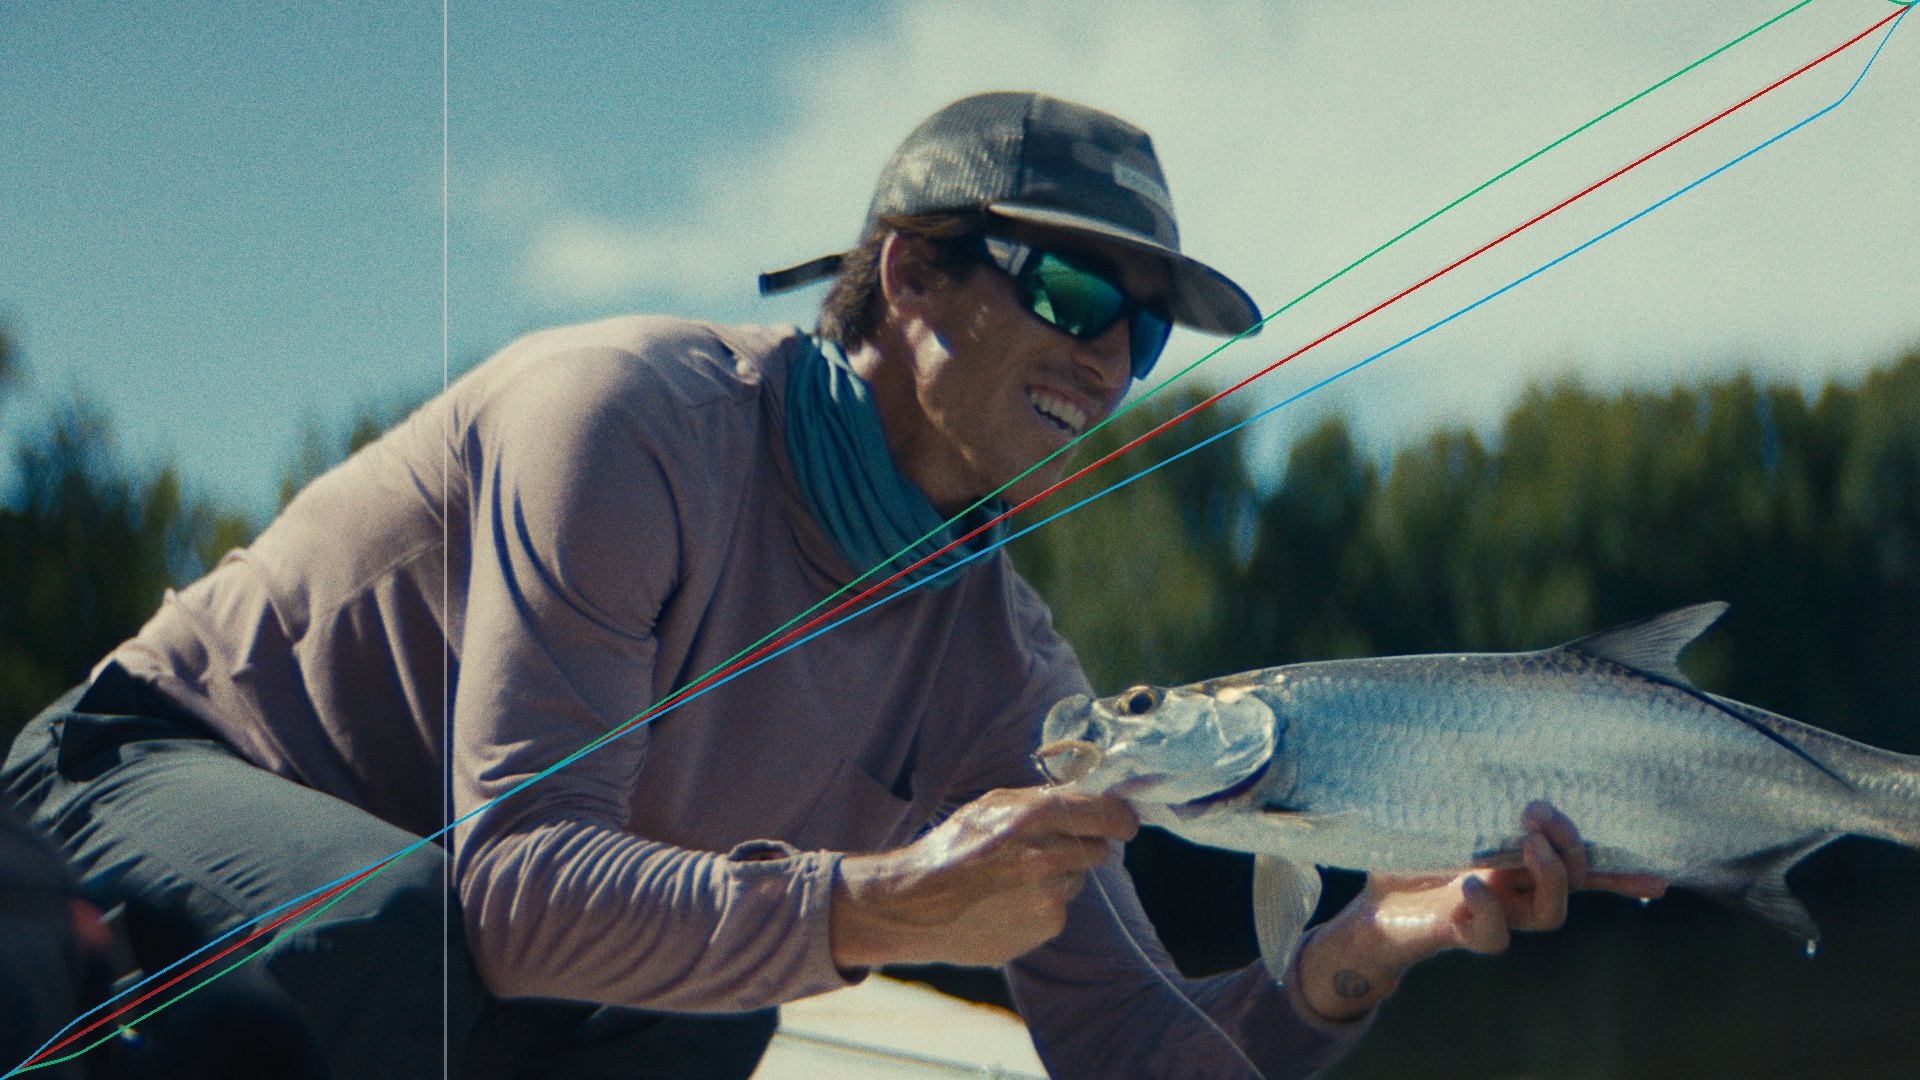
One hue everywhere is a cast. Hue that turns with tone is crossover, shadows drifting one way, highlights the other, the way coupled layers actually lean. View Curves draws it on the frame, so you see exactly what you dialed.

A graded frame with the View Curves overlay drawn on it: the red, green, and blue channel curves separating at the toe and shoulder, showing the crossover.

DP Christopher Murphy

06

Palette

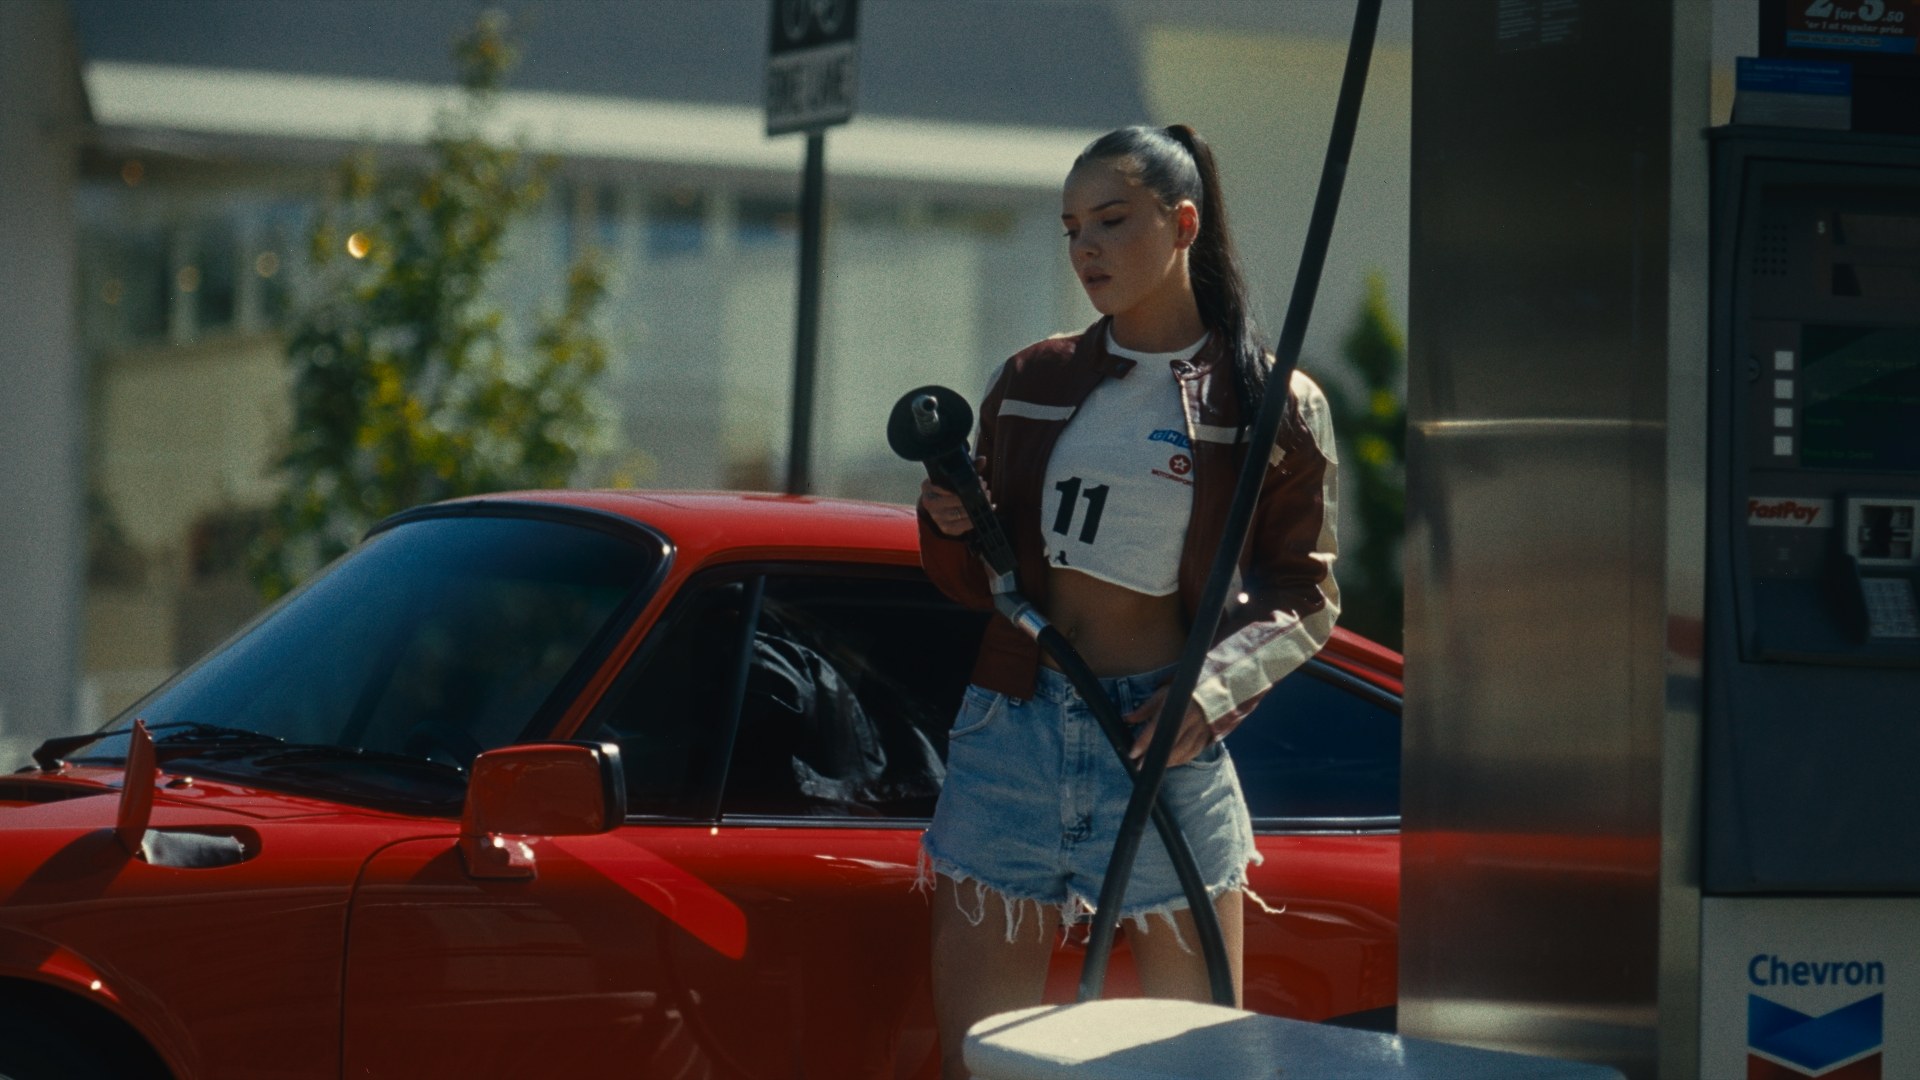
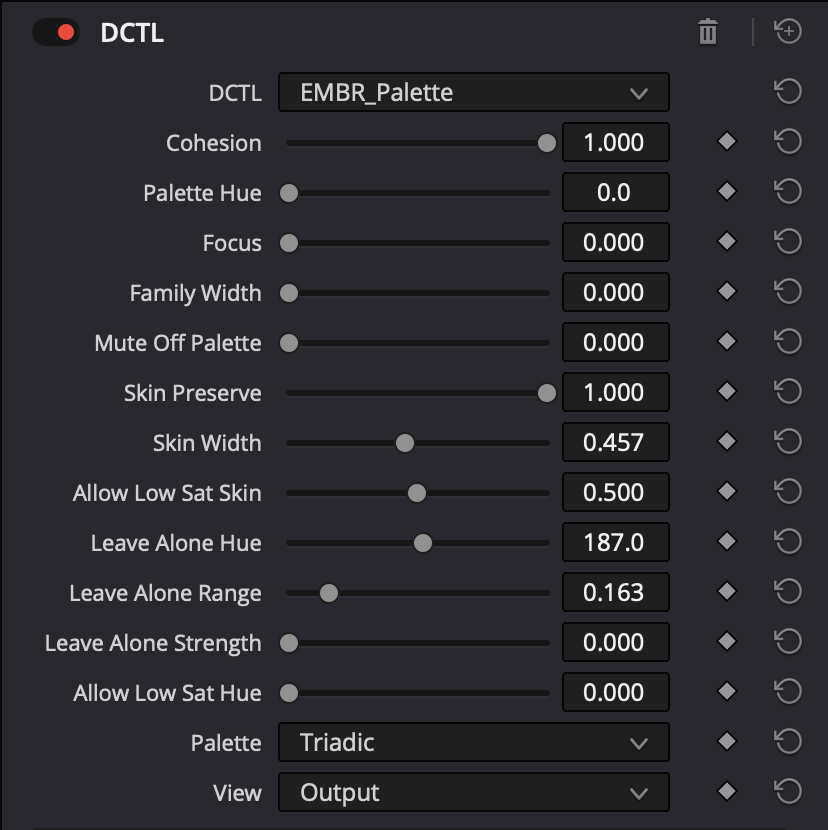
Every hue in the frame pulled toward one scheme. Skin holds. No seams.

Palette harmonizer off versus on
OnOff

DP Hudson Mendoza

07

Pro Mist

A thin veil lifted off the whole frame. The exact weight, set per shot, not whatever glass you loaded.

Pro Mist · 100%
Pro Mist100%

DP Christopher Murphy

08

Petzval Lens

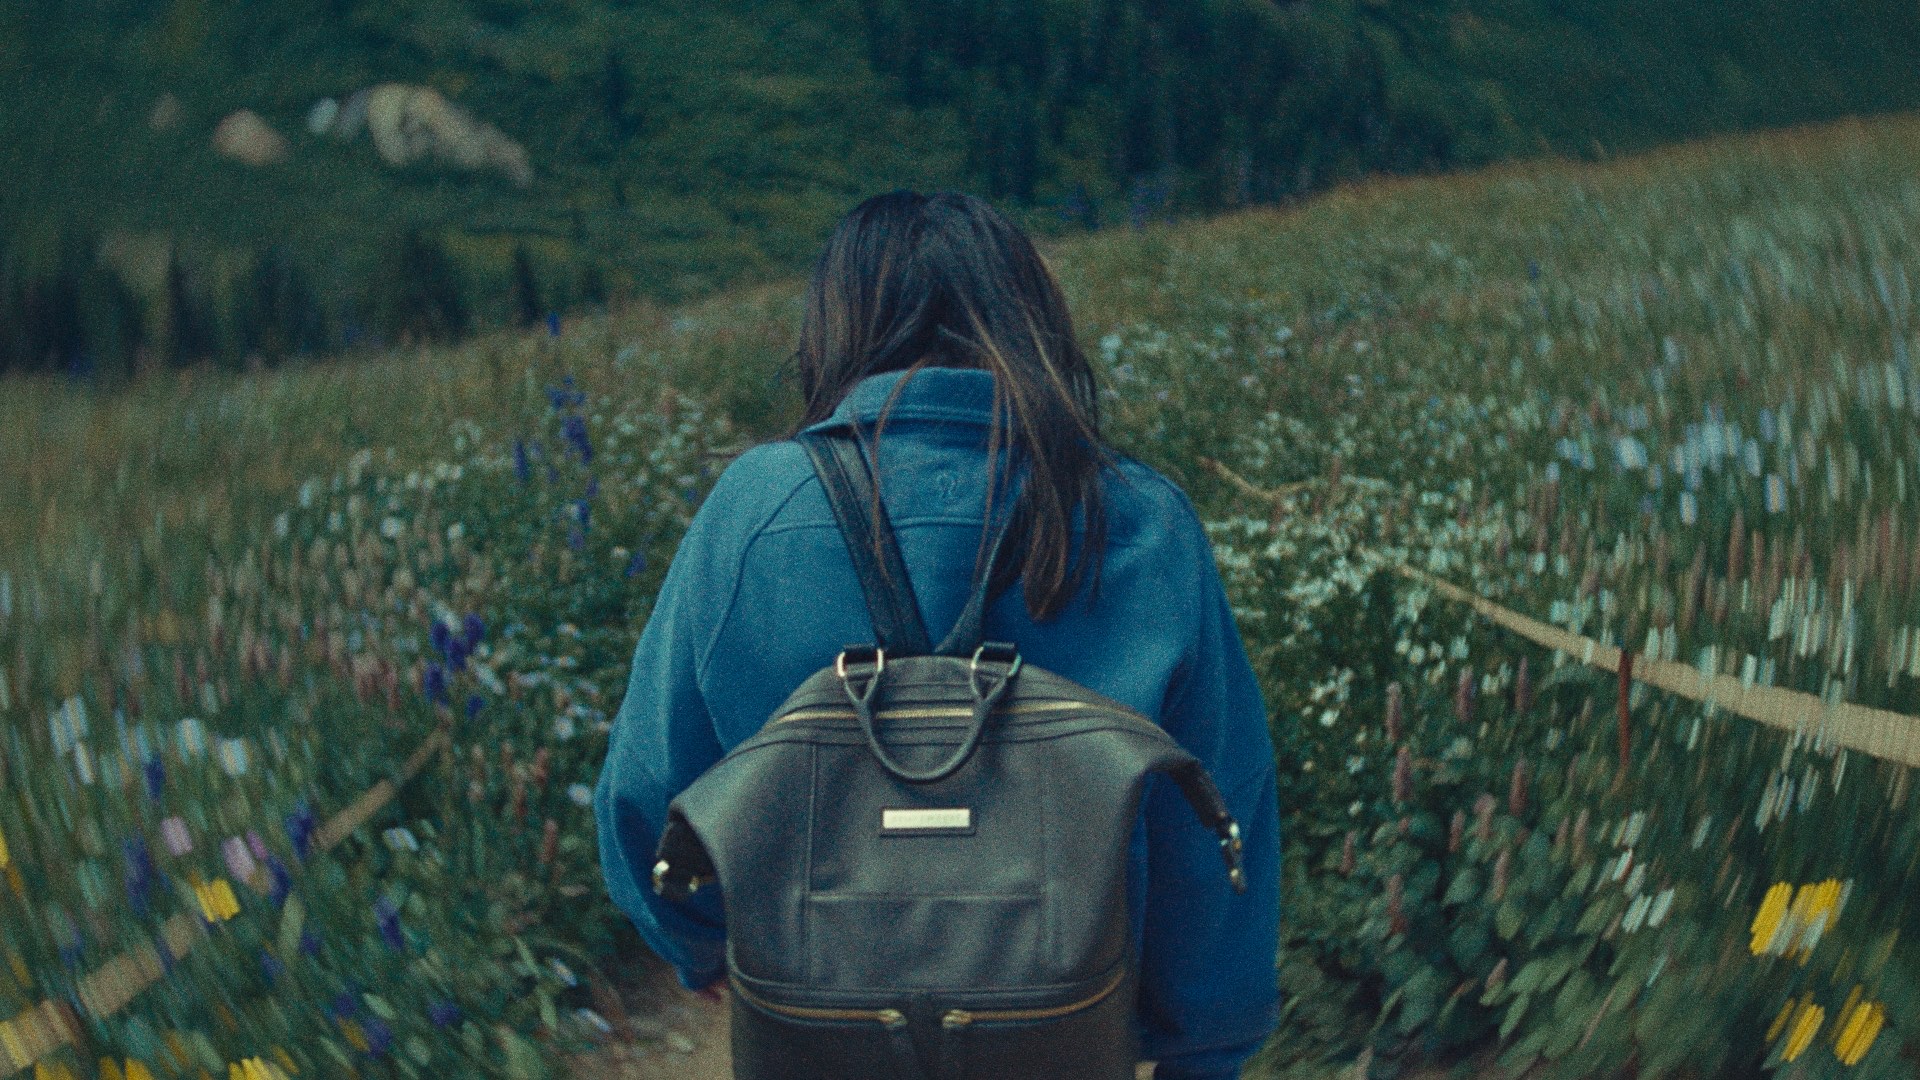
The old-glass swirl at the edge of the frame, the subject sharp in the middle of it. Field curvature as a dial, not a lens rental.

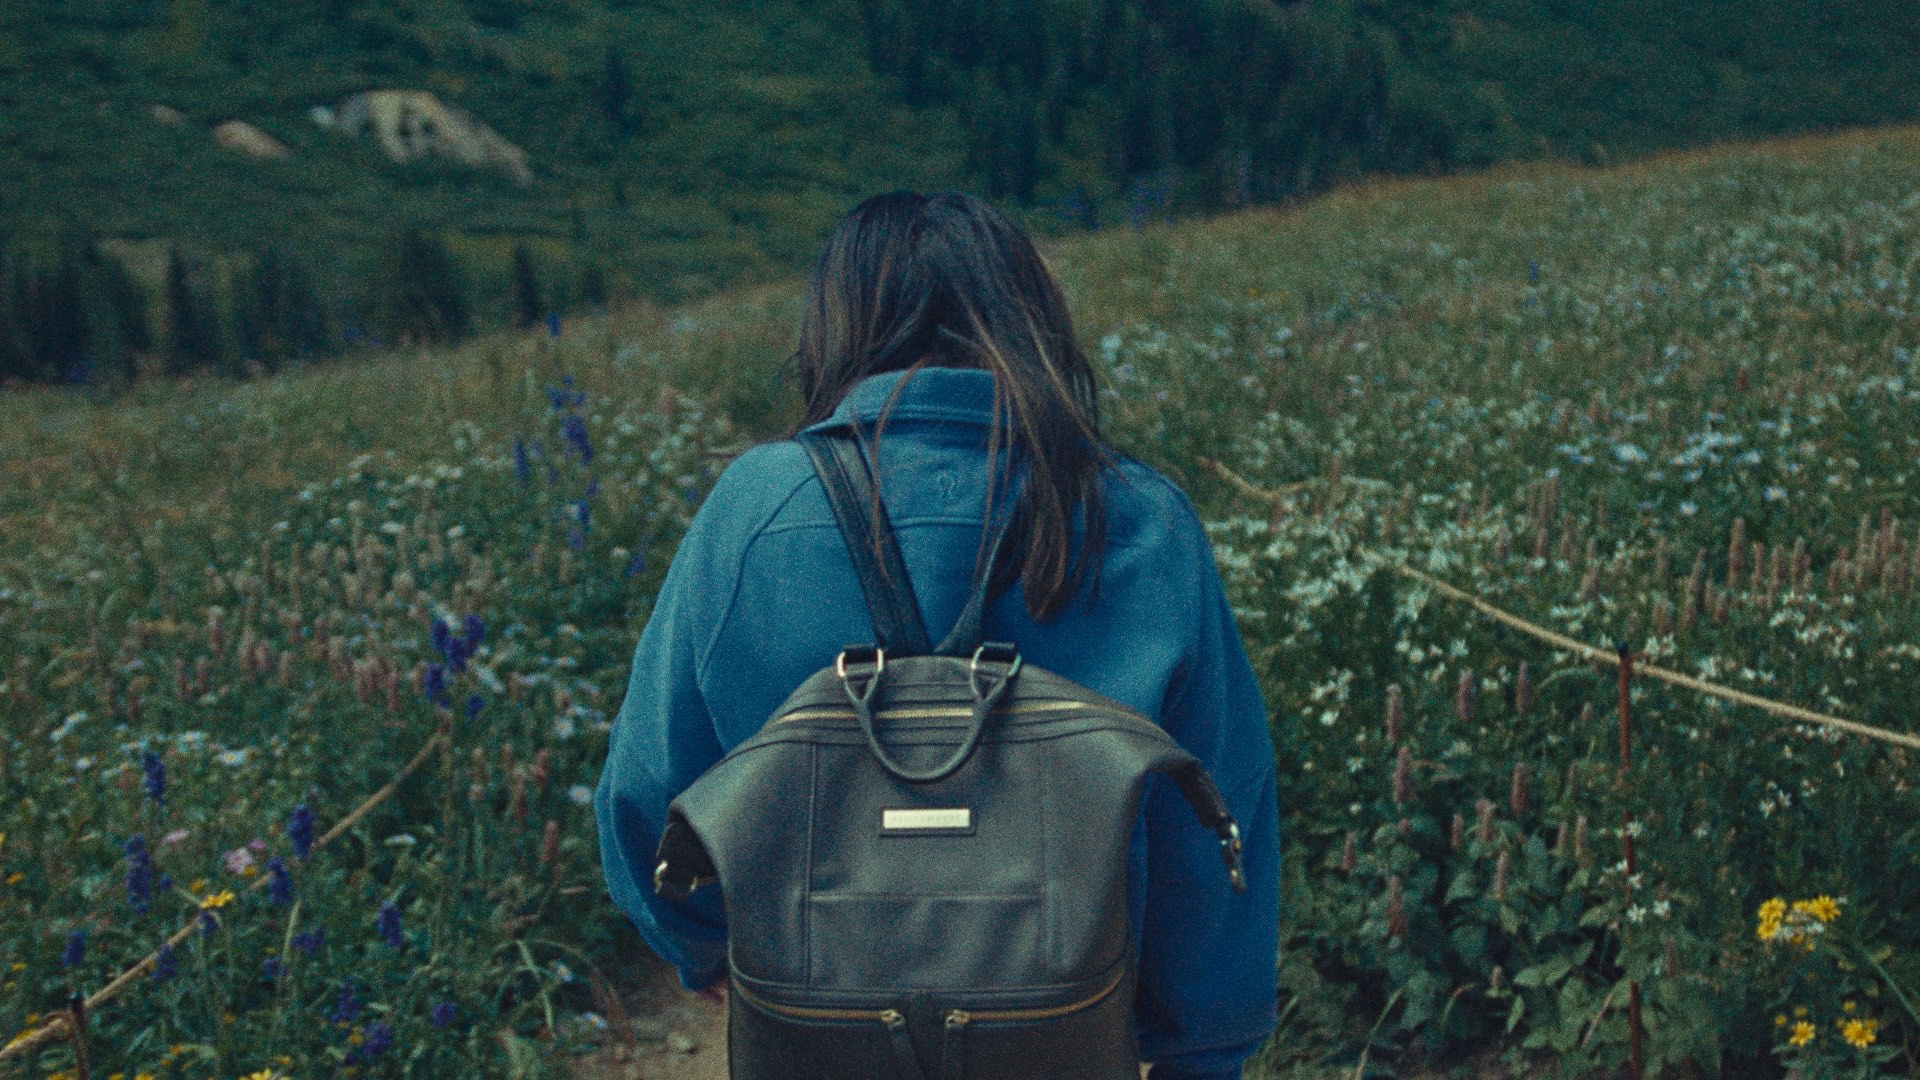
Petzval lens effect off versus on: the edges of a flower field swirl around a sharp subject
OnOff
09

Film texture

Softness isn’t lost detail. Sharpness, resolution, and acutance are three different things, modeled apart.

EMBRPress and drag to inspect

The Lioness · DP Sam Newton

10

Film gate

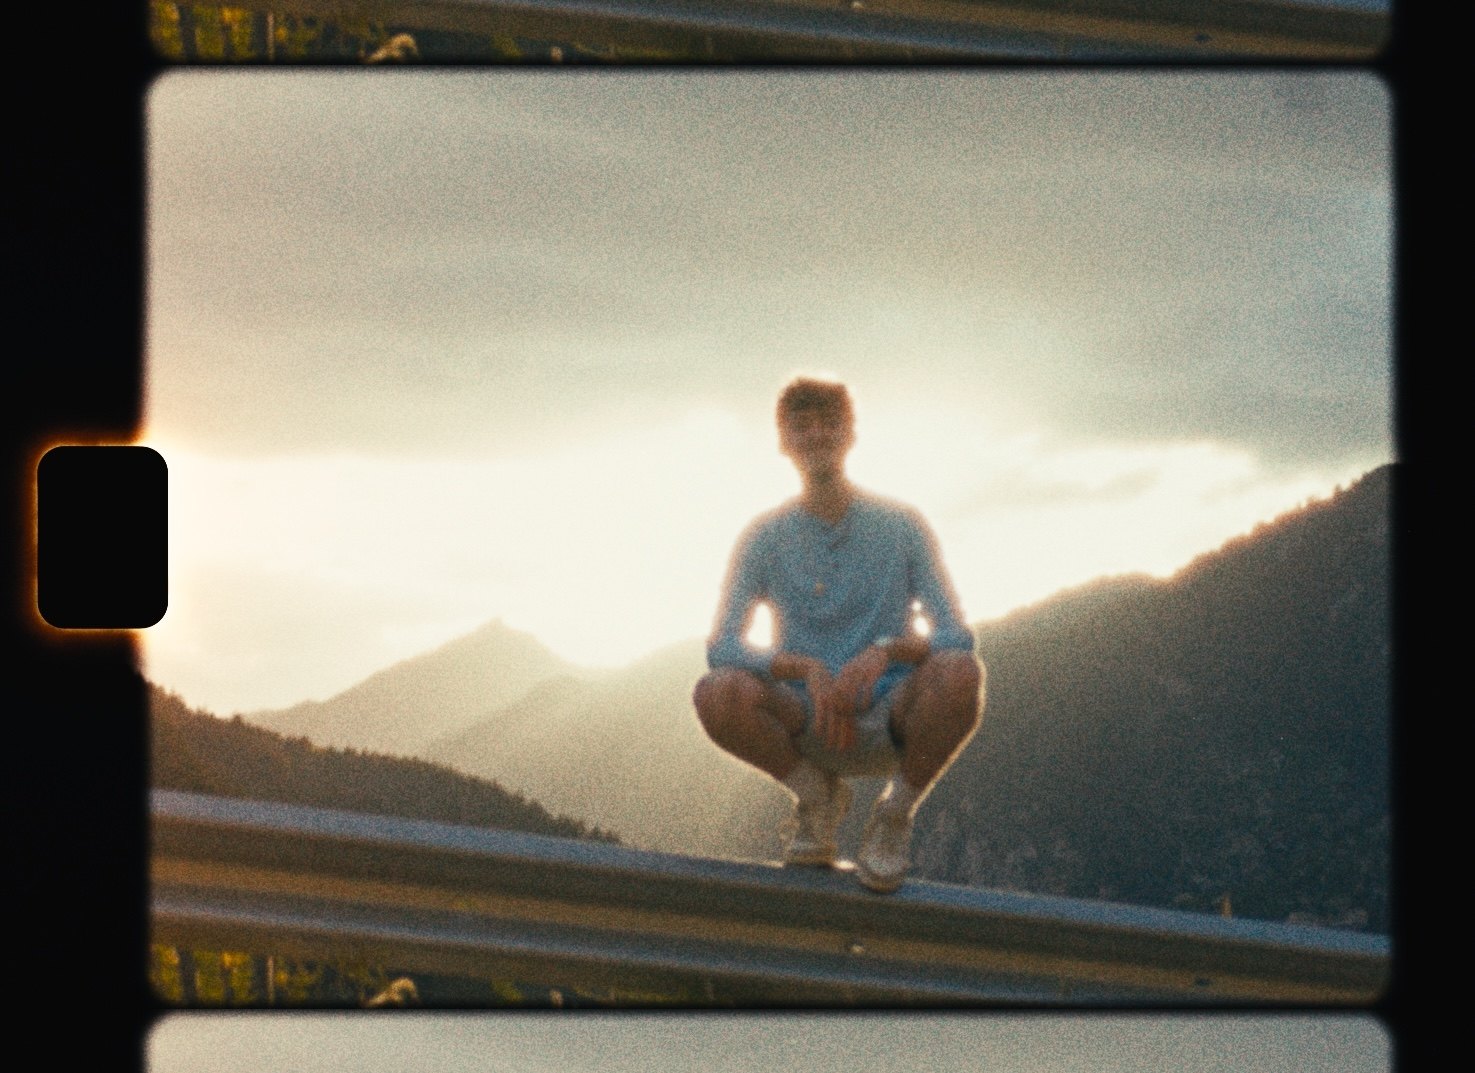
The perf punched where 8mm actually punches it, light blooming through it, the neighbor frames riding above and below. Show the whole strip or keep your frame; either way, every piece of it is yours to dial.

An 8mm frame in the film gate: the sprocket perforation with light blooming through it, rounded gate corners, and neighboring frames visible above and below.

The finished look

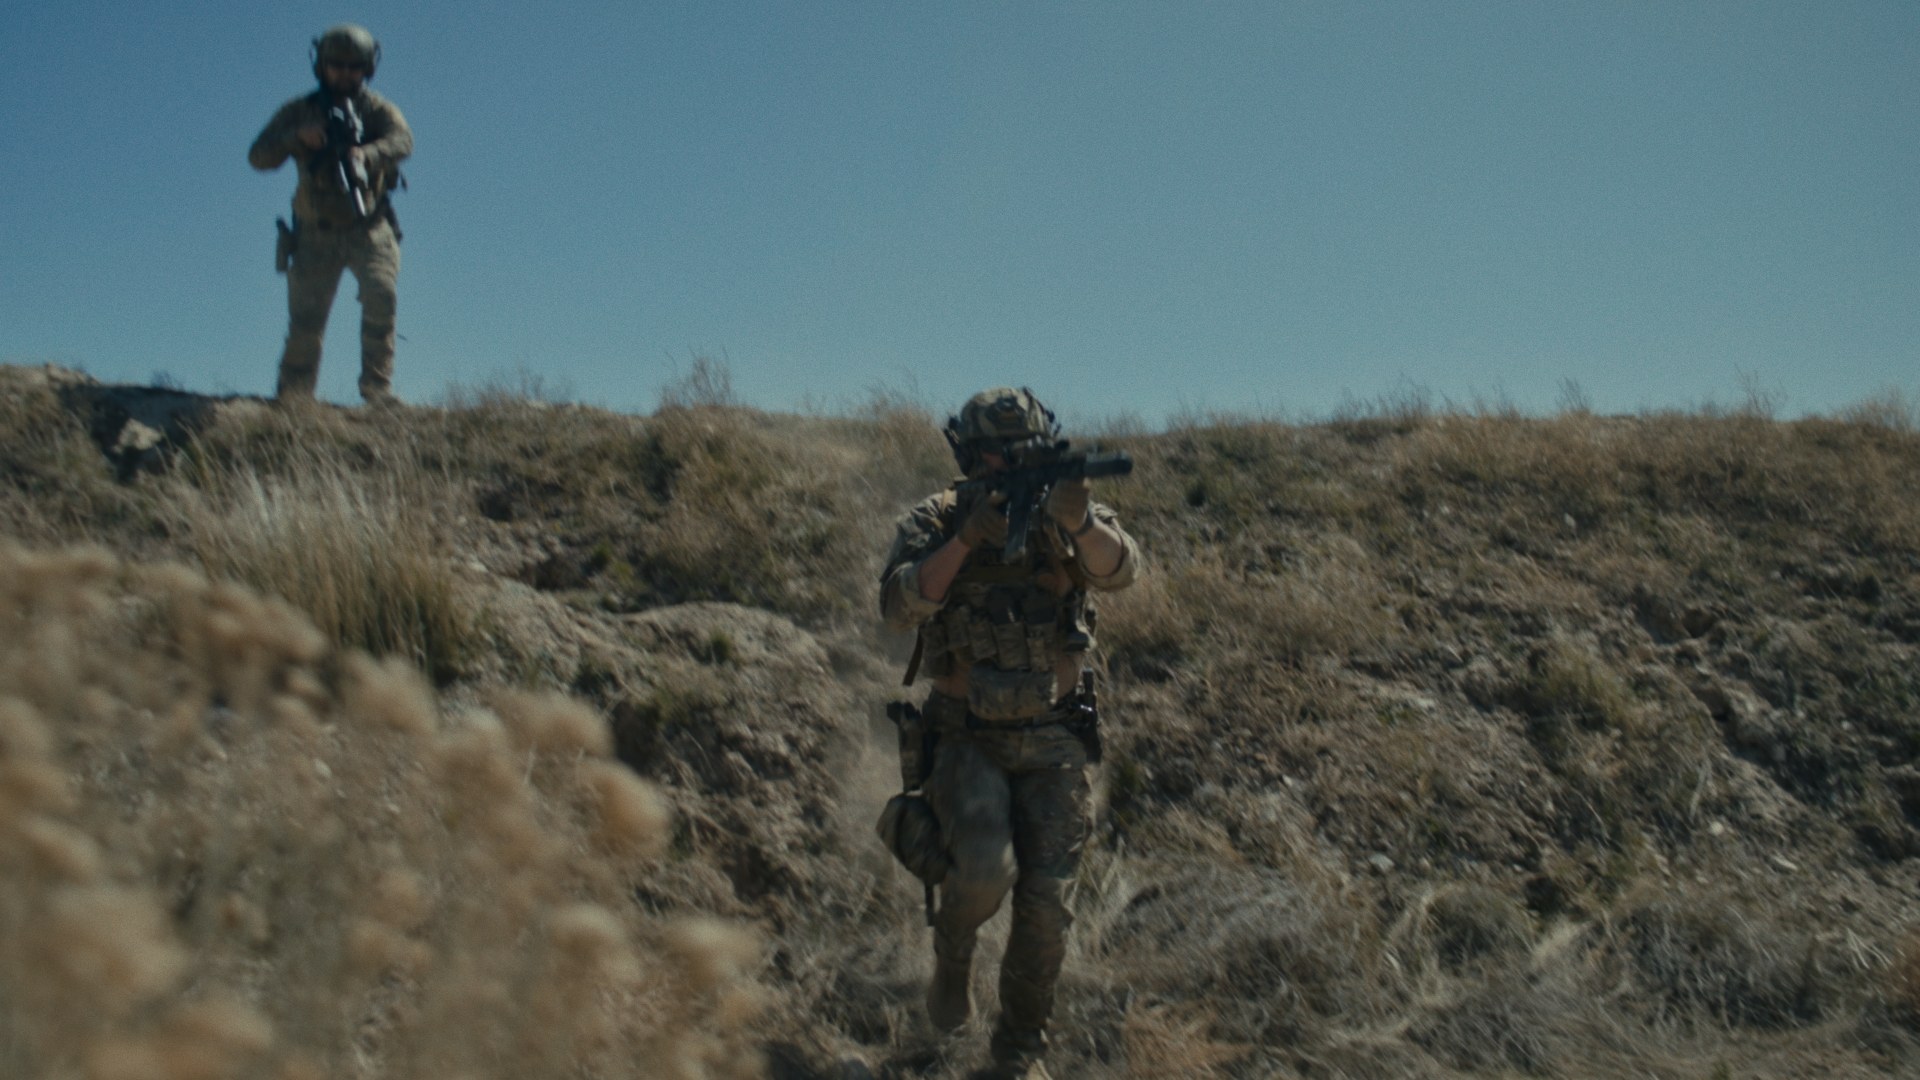
The whole look.

Every module in one grade. Pick a frame, then pull.

The full EMBR look off versus on
OnOff

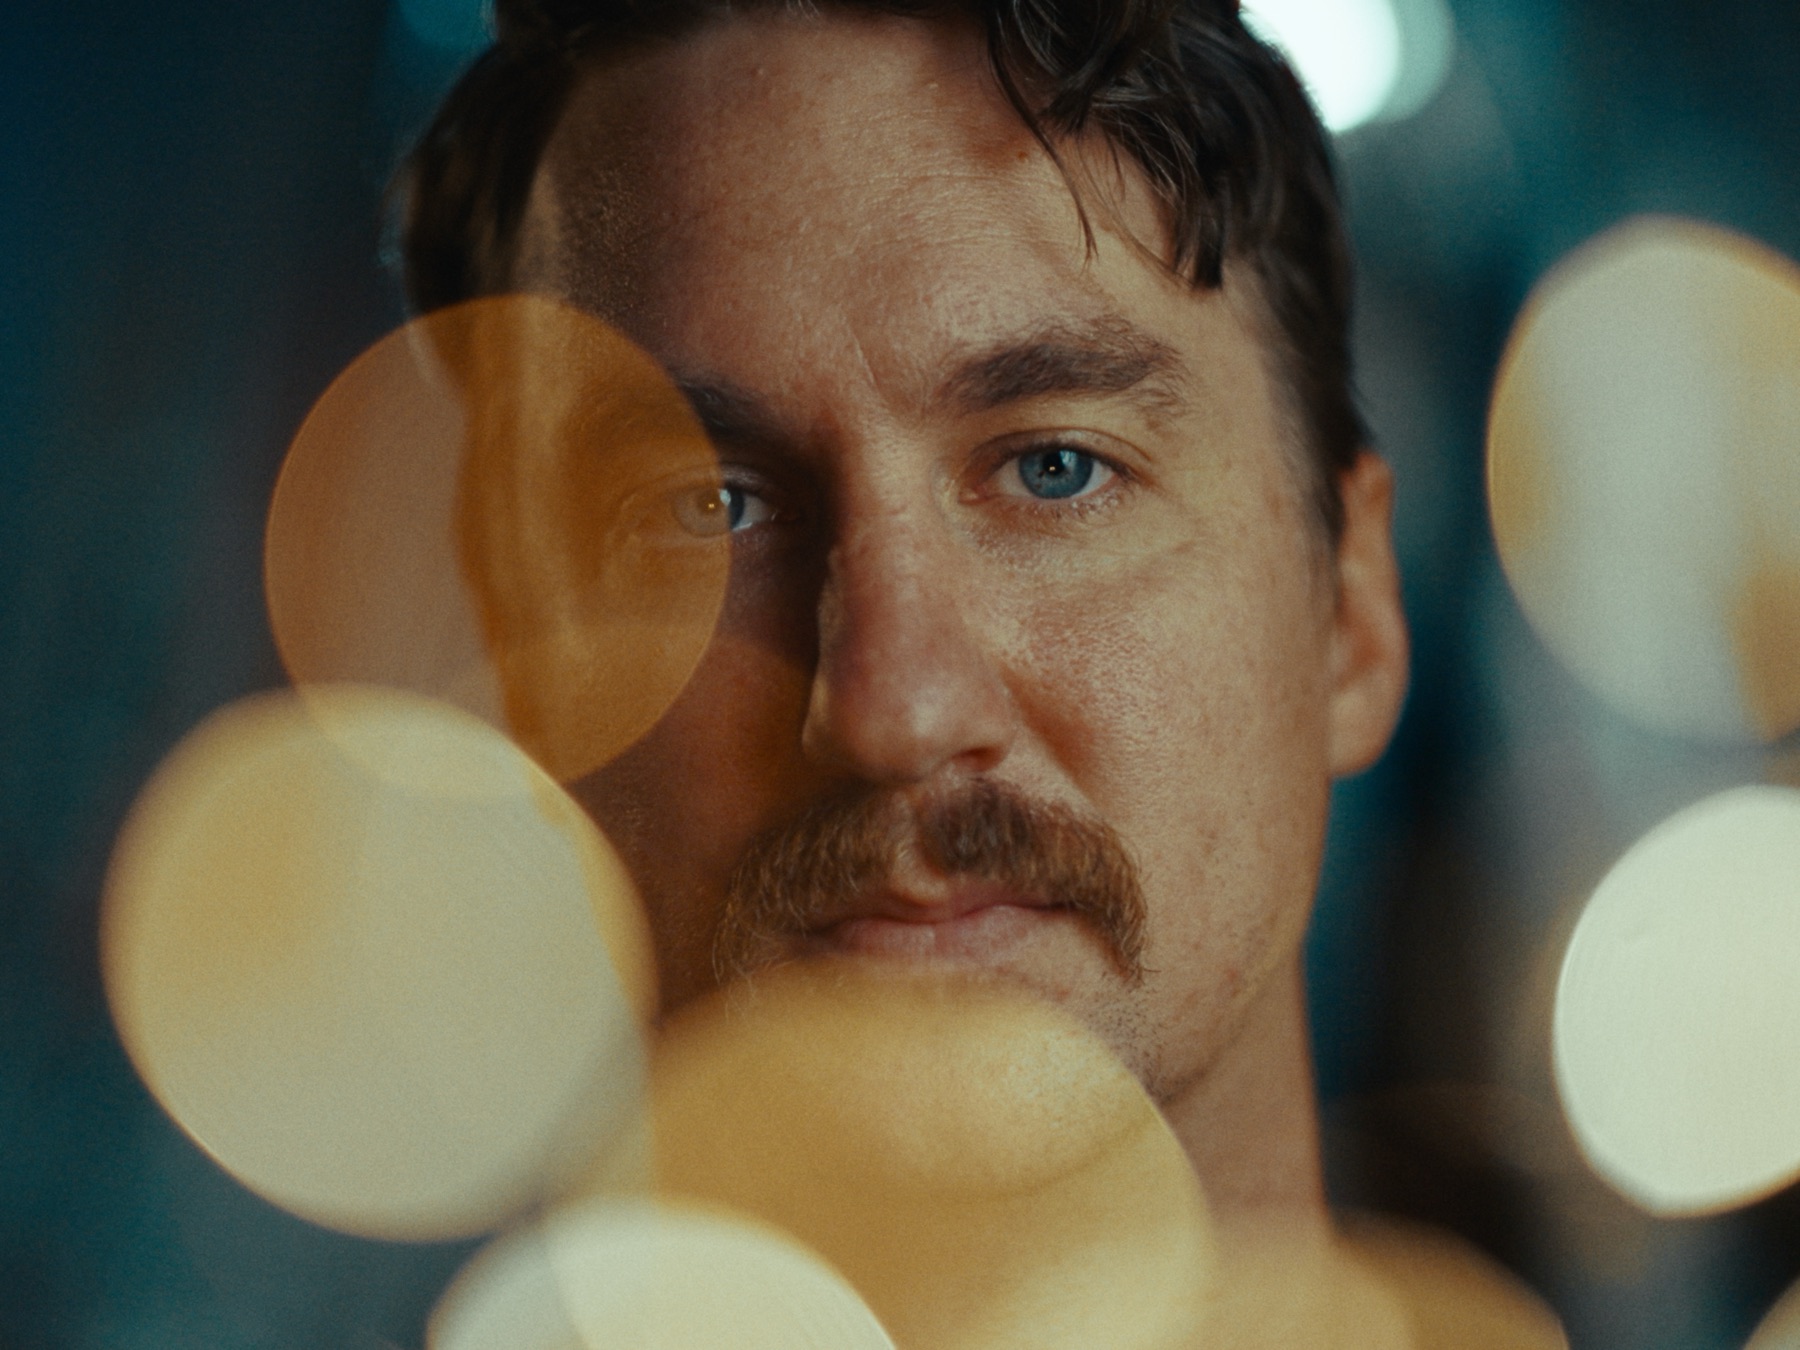
Ring of Fire · Dir. Michael Kerkering · DP Dee Mount

The full index

Everything in the box.

You just watched a few of these work. The rest ship in the same tool. One pipeline, nothing else to buy.

The lens

  • Pro MistContinuous filter weight. The exact grade per shot, not the glass you happened to load.
  • Chromatic AberrationA real wavelength ramp across the frame, not a red-blue channel split.
  • VignetteLens falloff the film toe renders, never a painted edge.
  • Petzval LensThe old-glass swirl at the edge of the frame.

The negative

  • Film StocksAuthored negatives to start from, or build your own from the emulsion up.
  • Stock LibrarySave the negatives you build. Hand them to another EMBR colorist.
  • Push PullDevelopment, not a contrast slider. Contrast, crossover, and fog move together.
  • HalationRed bleeds off the highlights and nowhere else.
  • IrradiationLight scattering inside the emulsion, per channel.
  • GrainTrue crystals with a size distribution, placed by tonal zone.
  • Film ResolutionSoftness and acutance as separate physics. Detail rendered, not lost.
  • Film Format8, 16, and 35mm. Everything spatial scales with the gauge.
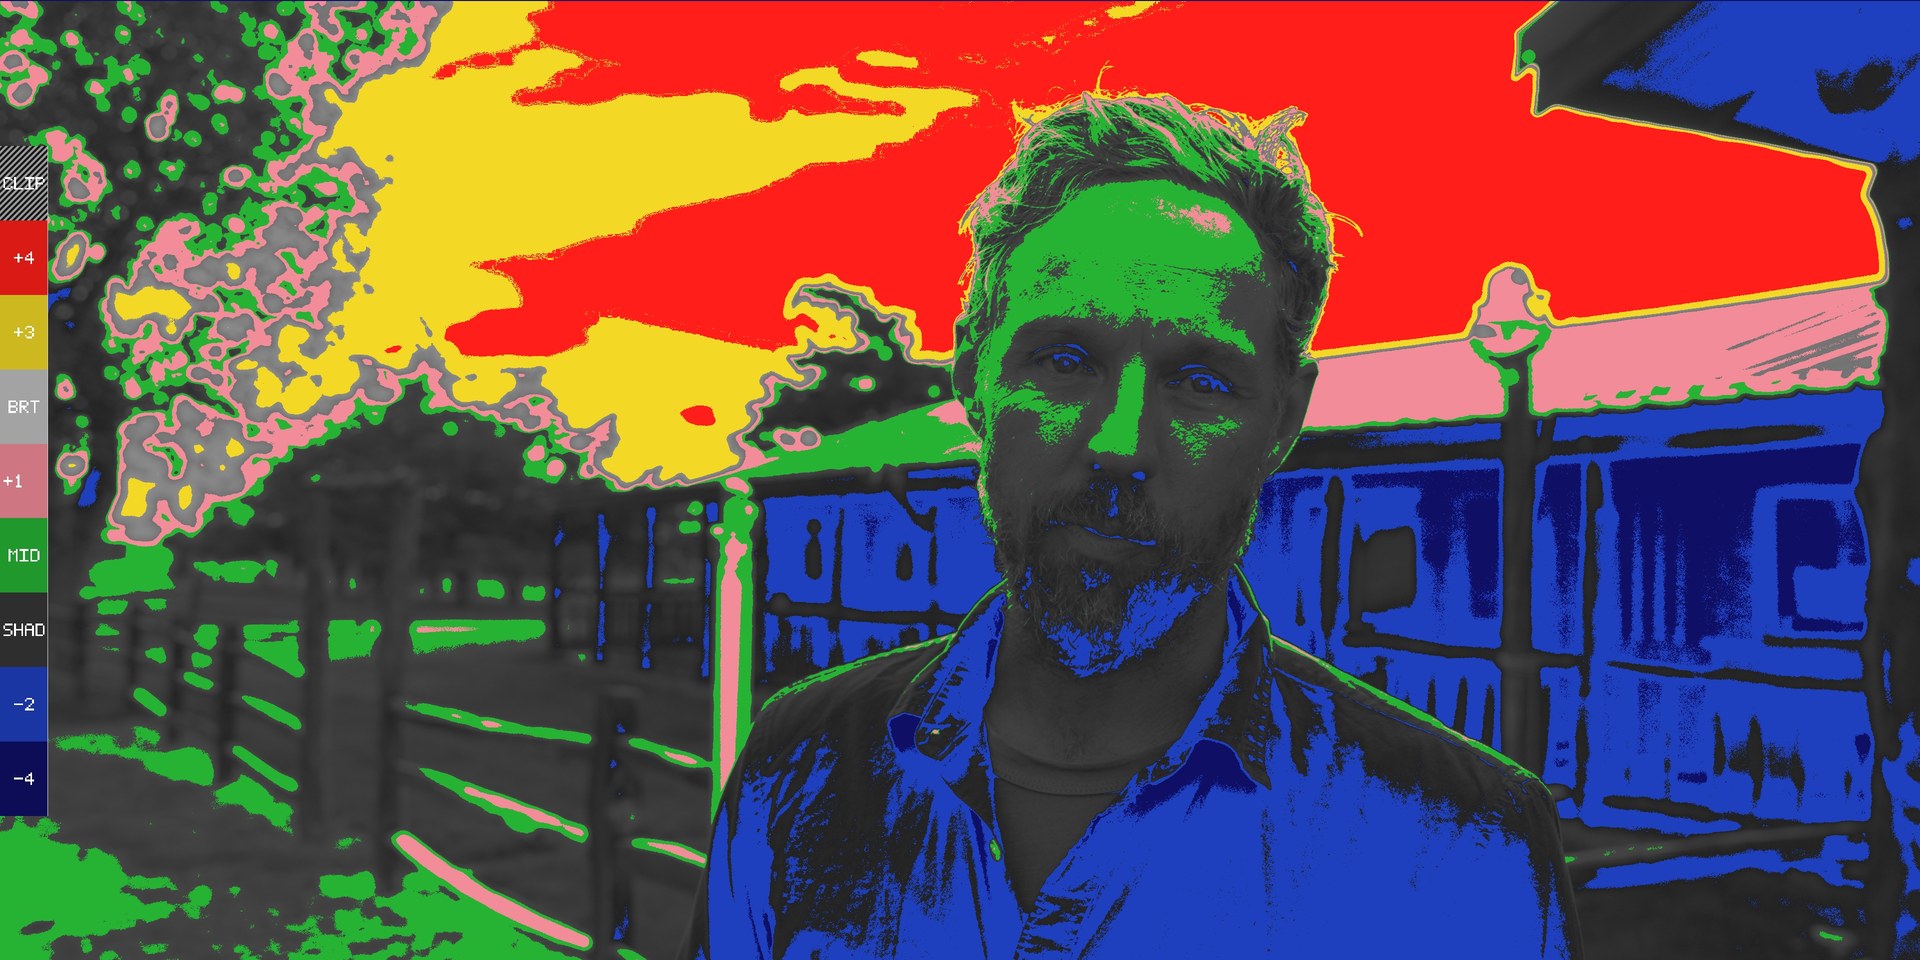
  • Exposure PreviewFalse color in film stops: shadows, mids, skin, brights, clip.
  • Film SpeedThe emulsion’s ISO. Grain, softness, and halation scale together.

The color

  • BalanceSkin finds the white balance. Exposure seats. Every clip starts neutral.
  • Cast & CrossoverThe stock’s color rendition, shadow through highlight.
  • Film ColorTone-aware chroma: density, highlight wash, the path to white.
  • Bleach BypassSilver retained on the print, with the color held if you want it.
  • PaletteEvery hue pulled toward one scheme. Skin holds.
  • Digital to NegativeYour footage as film density, for any print LUT that expects a negative.

The machine

  • Gate Weave & BreathThe transport’s motion, two decorrelated bands. Never a loop.
  • Dust & SpecksSparse and per-frame, the way a gate collects it.
  • Film GateThe frame edge, true to the perf format.

The box

What you receive.

01

The film stocks, and the negative behind them

Authored stocks to start from, then the negative behind them: the curve, the per-layer response, the way density and color actually build on film. Shape an authored stock or build your own from the emulsion up.

02

The color tools, on their own

The contrast, exposure, and color from inside EMBR, broken out as slider-driven DCTLs you can drop into any node tree. Build your own looks from the same parts EMBR is built from. Color-managed and hard to break.

03

The placement map + your clip-level tree

A reference PowerGrade that shows where every piece belongs in the node tree — a map, not the product; the tool earns it on its own. Plus the balancing and shot matching node tree from real client work, ready to drop on any project.

04

The supporting files, the walkthrough, and the license

The Digital-to-Negative conversion preps your footage for any print LUT that expects real film negative, including the ones already in Resolve. Plus the walkthrough series, a mini course on the workflow, not just the tool: where each piece belongs and why. And a personal license for your own machines, with updates to your version.

Author’s note

  1. Repeatable grading isn’t applying the same look every time. It’s knowing where each decision belongs.

  2. The image should move like light: scene, lens, negative, print. When that order is wrong, halation pastes on, grain floats, and texture goes thin. That’s structure, not taste.

  3. Sometimes realism requires breaking that structure. EMBR knows where, and makes it land the same way, every time.

  4. EMBR carries the science. The physics, the order, the discipline: handled, and still yours to bend. Everything left in your hands is creative. The image and the intent stay yours.

    — JVKE

One-time purchase

Own it once.

Look development built on film physics. Start from an authored stock, build your own negative — it reads like film, not like a grade.

Try it, then own it

The full Pro tool on your own footage, watermarked until it’s yours. No card — just an email.

Try it on your footage

EMBR Film FX Lite

The look

The look, for grading your own work. The same EMBR engine, curated to the core of the film pipeline — apply it, shape the stock, own it.

  • The core pipeline — apply it and the image is there
  • Two stocks — Vision3 200T + Gold 200
  • Balance + Hue — the two everyday DCTLs
  • Lite PowerGrade + the per-camera CSTs
  • Upgrade any time — pay the difference, never buy twice

$79

One-time · 1 machine

Get EMBR Lite

EMBR Film FX Pro

First access · 25% off

For client work that needs specifics — the fine control to fine-tune for real. Push any stock as far as it goes or build your own, then everything else film does to the image. The complete EMBR Film FX system.

Everything in Lite, plus

  • All 8 stocks, all the way open — per-layer response, spectral observer, curves, push/pull
  • Your own stocks — build, save, share as .embrstock
  • The Petzval lens effect — with chromatic aberration and vignette
  • Pro Mist at full strength — with the four glass grades: 1/8, 1/4, 1/2, 1
  • Deep texture control — grain, halation, irradiation
  • The full film gate — weave, perforations, frame lines
  • In-plugin primaries — lift, gamma, gain, offset per channel
  • The full kit — 14 more DCTLs, 3 grading PowerGrades, the walkthrough series

$375

$499

One-time · 2 machines

Get EMBR Pro

Lite hands you the look. Pro opens the negative. The full breakdown →

Running a facility or a team

We license per-machine studio seats, held by the organization.

jake@jvke.us

One-time purchase. Perpetual license, with self-serve seat moves — Lite on 1 machine, Pro on 2. Sold by Juice Pouch Labs LLC. · DaVinci Resolve Studio 18+ · macOS 13+ · Windows.

Kodak, Vision3, Portra, Ektar, and Gold are trademarks of Eastman Kodak Company. EMBR is not affiliated with, authorized by, or endorsed by Kodak. EMBR’s stocks are original emulations derived from published datasheets.
FAQ

No. A preset hides the decisions. EMBR is the order underneath them, the image moving like light from scene to lens to negative to print. Use the finish as-is, pull it apart, or lift single elements into your own grades. You get the destination and the discipline that got there, including the few places that order has to give for the image to feel real. The long answer is written down: how EMBR is built.

One-Time Purchase

EMBR

Authored by JVKE from years of client work and real grading workflows.

Launch Note

EMBR is out. From $79.

Own it once. No subscription.

Get EMBROr try it free on your footage